
Post Processing
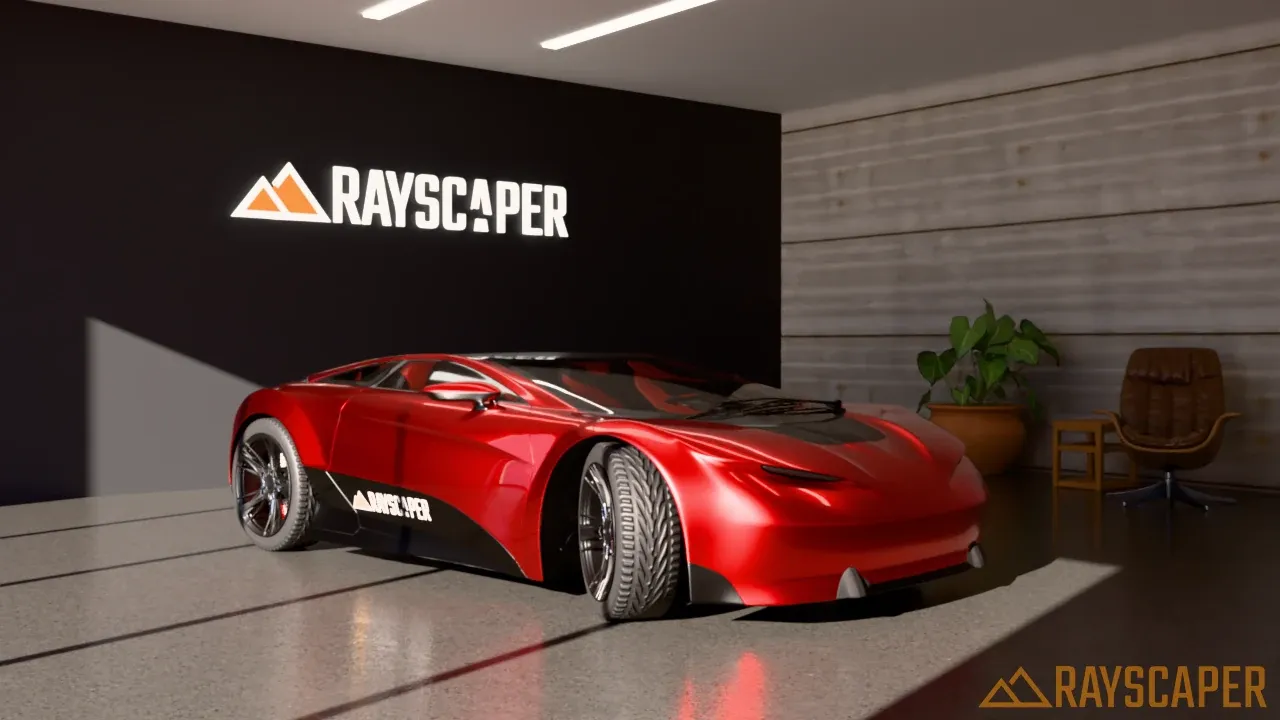
A car showroom with the default post-processing settings. The examples on this page all start from this render.
Rayscaper renders images in high dynamic range (HDR). Post-processing turns that HDR result into an image you can display and save, and adds effects like bloom and vignetting. These settings are in the Post Processing section of the Scene Editor.
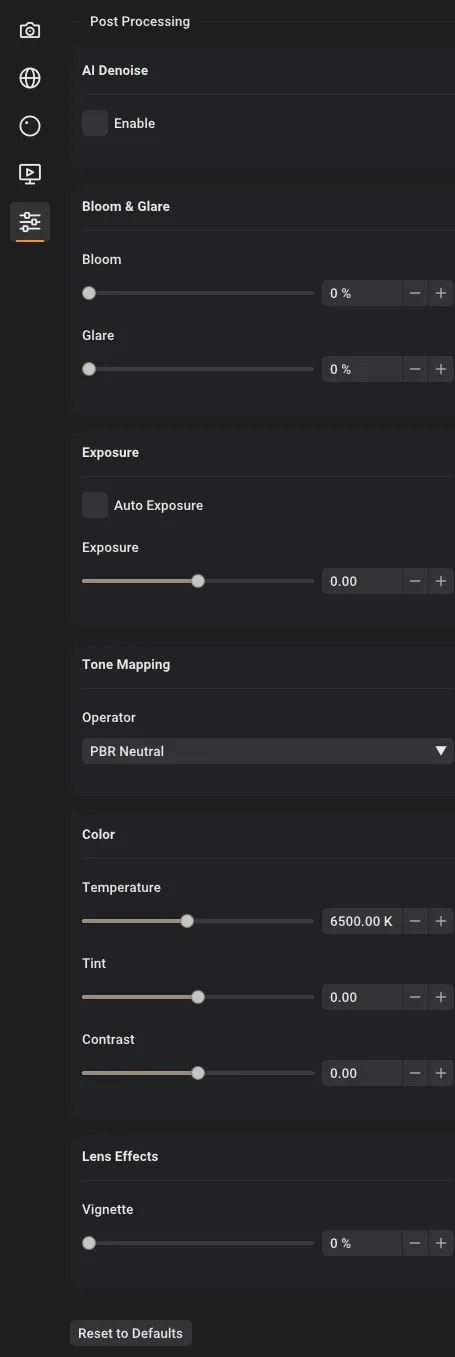
Post processing settings.
The section is split into AI Denoise, Bloom & Glare, Exposure, Tone Mapping, Color and Lens Effects. When you use a diagnostic render method, such as normals or texture coordinates, the Exposure, Tone Mapping, Color and Lens Effects controls are hidden, because those passes are shown without tone mapping.
Finish your render takes a raw render of a wine bar to a finished image without leaving Rayscaper: AI Denoise, exposure in stops, the tone mapping operators PBR Neutral, ACES Filmic and Filmic, bloom and glare on the bulbs, white balance, contrast and vignette, and Reset to Defaults. To follow along, download its scene, rayscaper-post-processing.skp (8.9 MB): a wine bar at night. It works with the free version of Rayscaper.
AI Denoise
Section titled “AI Denoise”Removes noise from renders using Intel Open Image Denoise, allowing you to use fewer samples and reduce render time.
Enable: Turns denoising on or off. It’s on for a new model; models saved before Rayscaper turned it on by default keep their setting. You can also toggle it with the Denoise button on the render window toolbar. Normals and coordinates aren’t denoised, since they show exact values with hard edges.
Both renders use 64 samples per pixel:
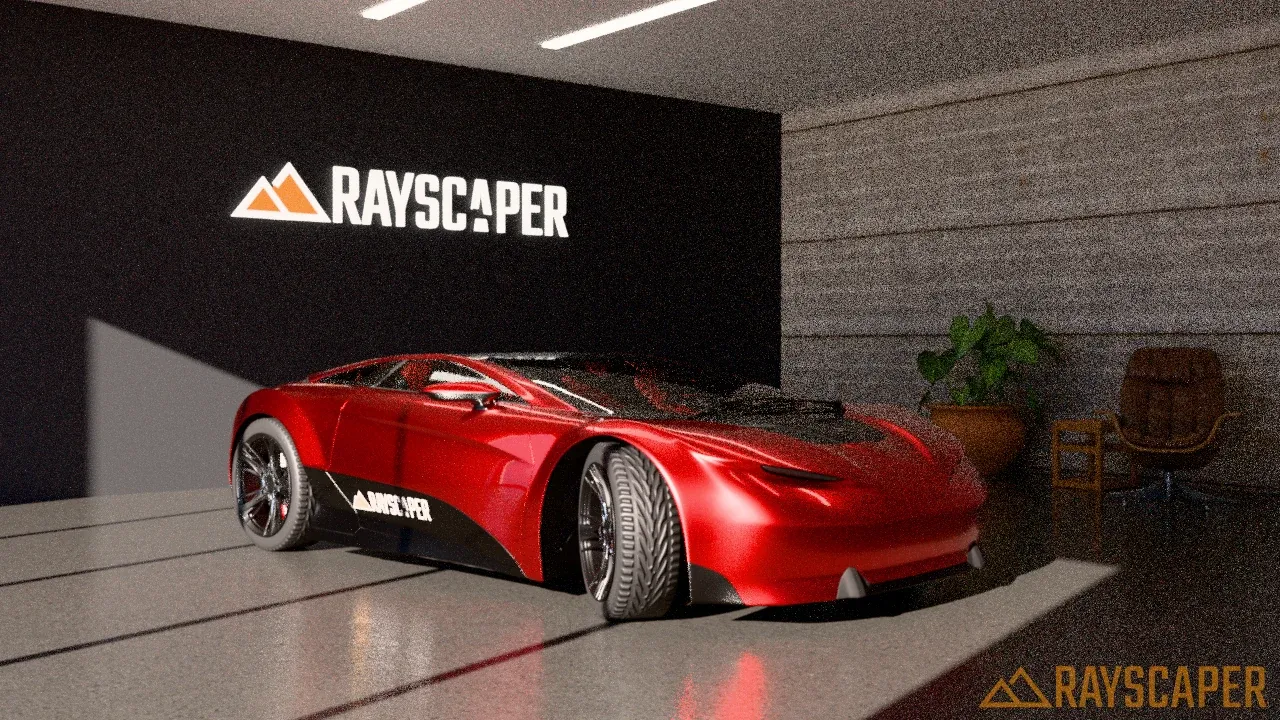
Grain everywhere, strongest on the dark wall and the ceiling.
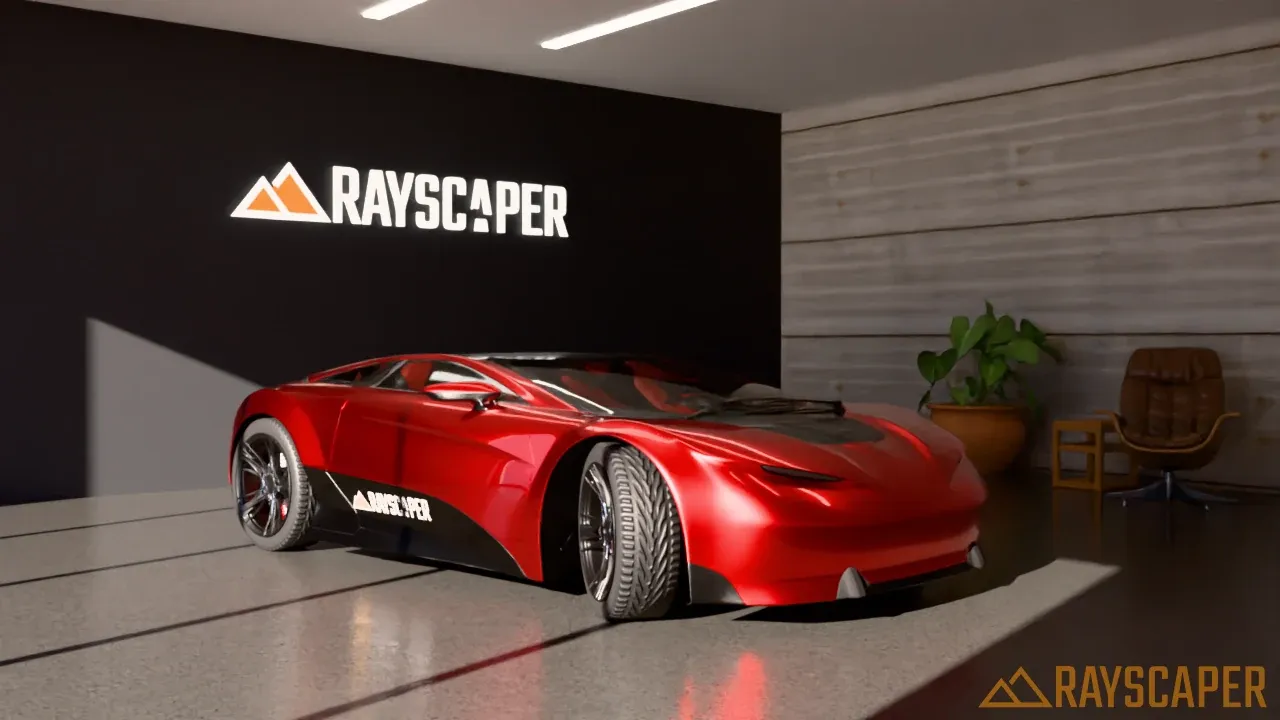
The same render with AI Denoise: clean, in the same render time.
Bloom & Glare
Section titled “Bloom & Glare”Adds a soft glow around bright areas (bloom) and star-shaped streaks on light sources (glare). Both start at the parts of the image that are brighter than white, after the exposure, so the same settings work for the lamps of a dim room, a bright window and the sun. A light far brighter than white glows like a lamp, it doesn’t flood the image.
Bloom: Strength and size of the soft glow (0-100%). 0% turns it off.
Glare: Strength and length of the star-shaped streaks (0-100%). 0% turns it off.
Glare Rays: Number of rays in the star: 4 gives a cross, 6 (the default) and 8 a star. Only shown while Glare is above 0%.
In the showroom the sign, the light strips in the ceiling and the sunlit logo on the door are bright enough to glow:
No bloom or glare: the sign has crisp edges.
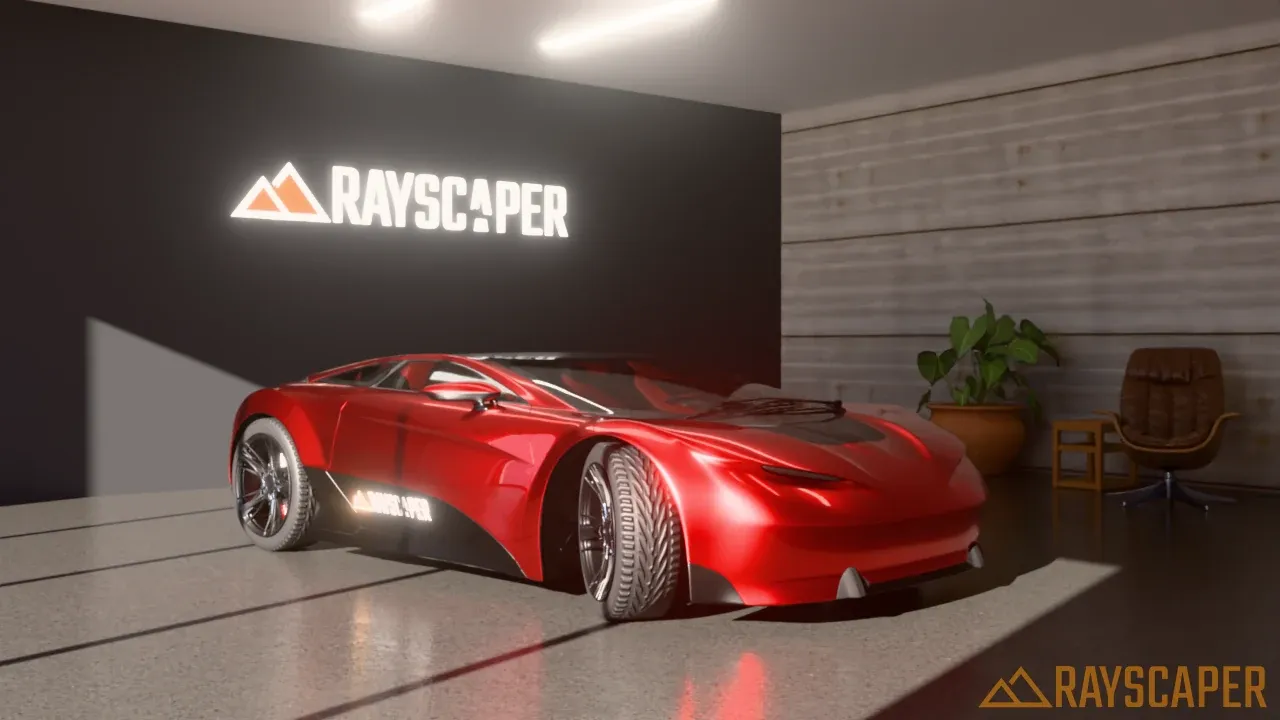
A soft halo around the sign and the light strips, as if they really shine.
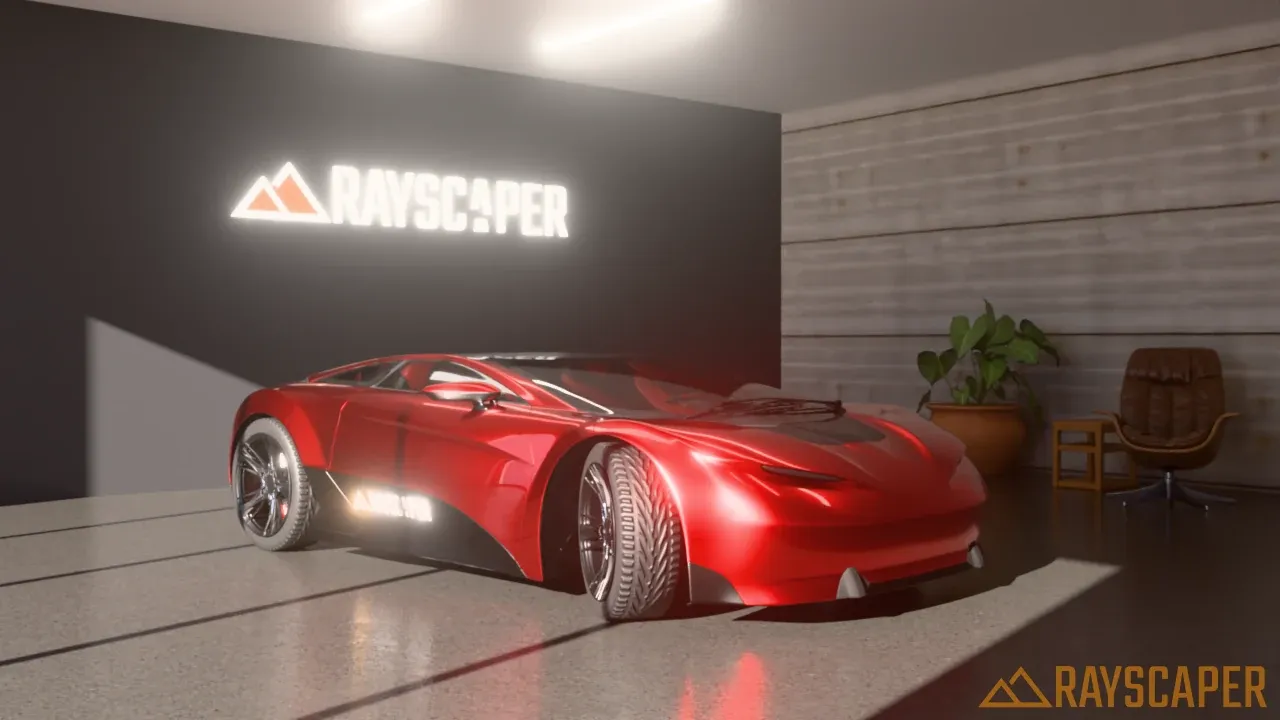
A wider, stronger glow that starts to wash out the letters.
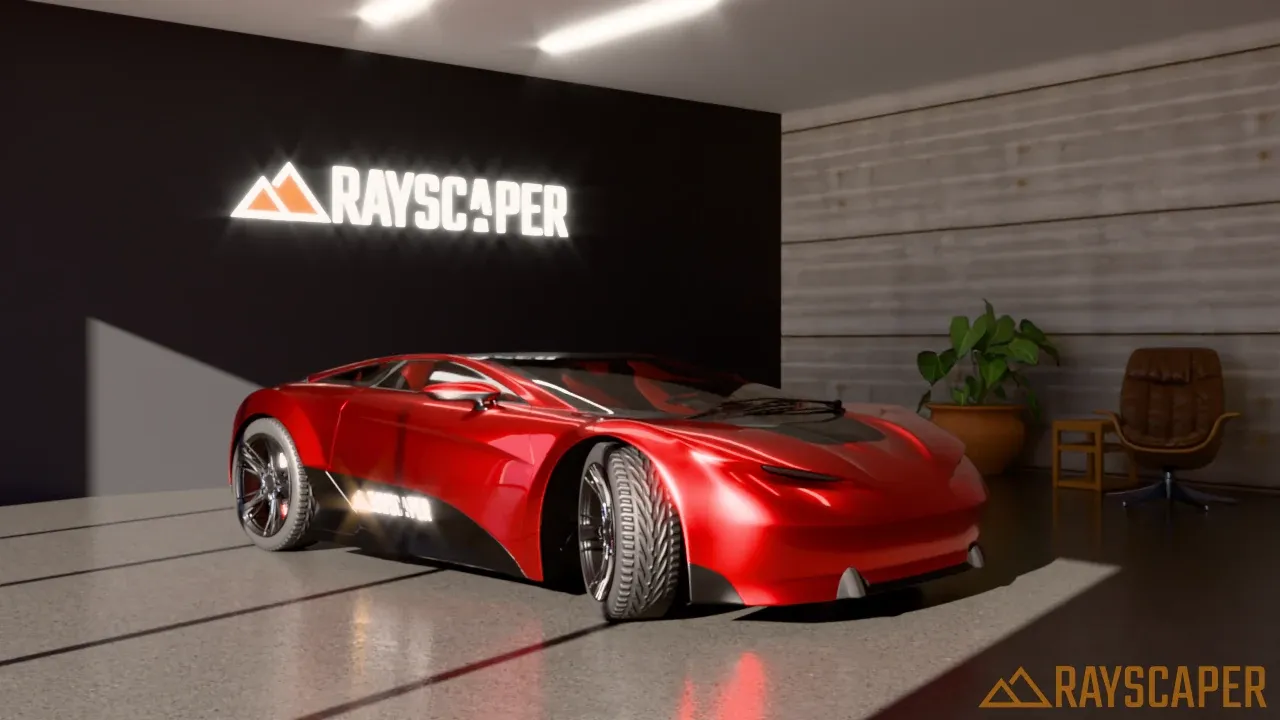
Glare power 25% with the default 6 rays: short star-shaped streaks on the bright spots.
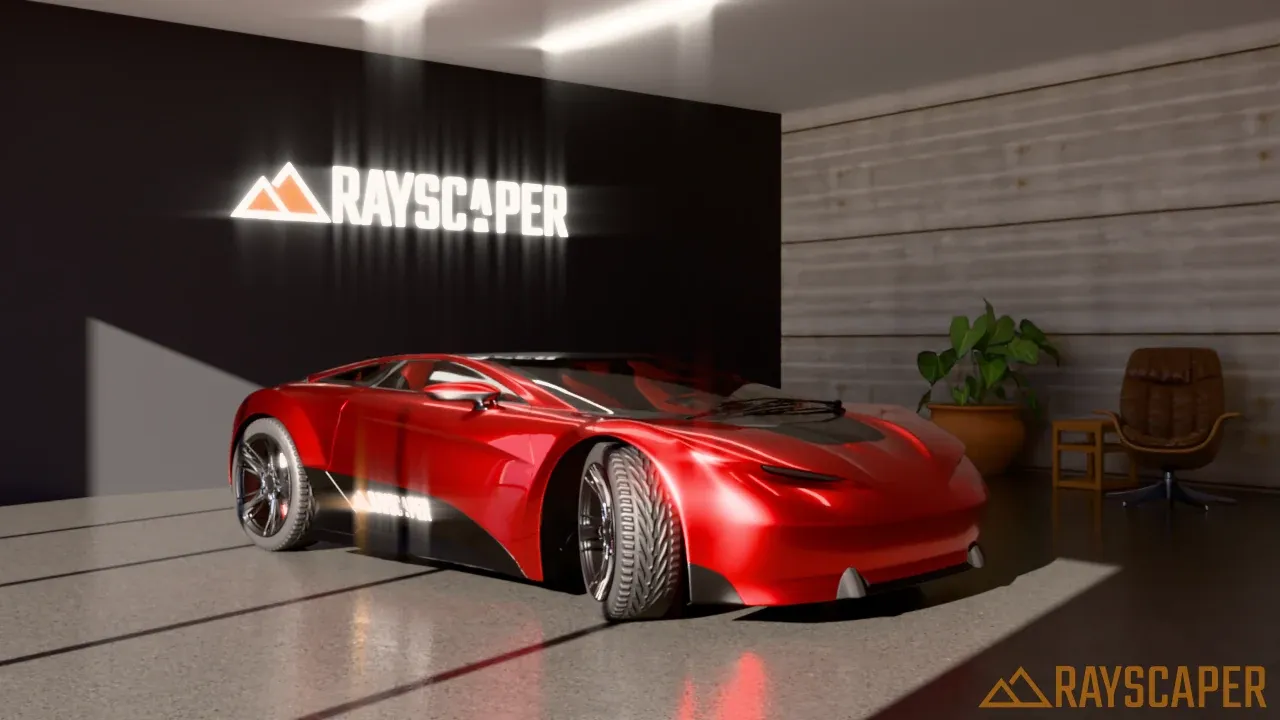
Glare power 40% with 4 rays: longer streaks in a cross.
Exposure
Section titled “Exposure”Controls the overall brightness of the image, like the exposure setting of a camera.
Exposure: Brightness in EV stops (-10 to +10, default 0). Each stop doubles or halves the brightness: +1 EV is twice as bright, -1 EV half as bright.
Half as bright: the sunlit floor keeps its detail, the room gets dark.
Twice as bright: the room opens up, the sunlit floor turns white.
Auto Exposure: Lets Rayscaper set the exposure from the brightness of the scene, like a camera’s light meter. It’s on for a new model, whose sky is much brighter outside than in a room; models saved before keep their setting. You can also toggle it with the Auto exposure button on the render window toolbar. While it’s on, the Exposure slider is replaced by:
Compensation: An offset on top of the automatic exposure, in EV stops (-5 to +5, default 0). Use it to make an auto-exposed image intentionally brighter or darker, for example for a moody night scene.
Tone Mapping
Section titled “Tone Mapping”A render contains a much wider range of brightness than a screen can show. The tone mapping operator decides how that range is compressed, which mostly affects bright highlights and colors.
Operator: Choose the tone mapping algorithm. The default is PBR Neutral.
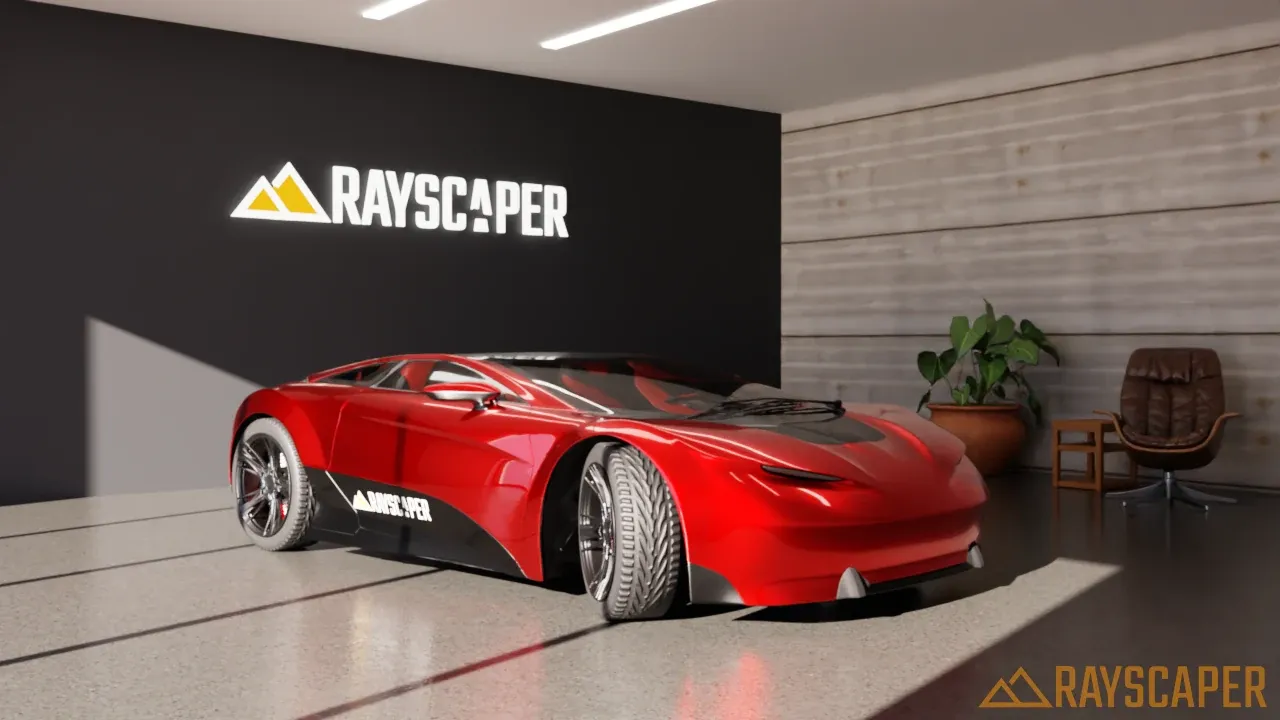
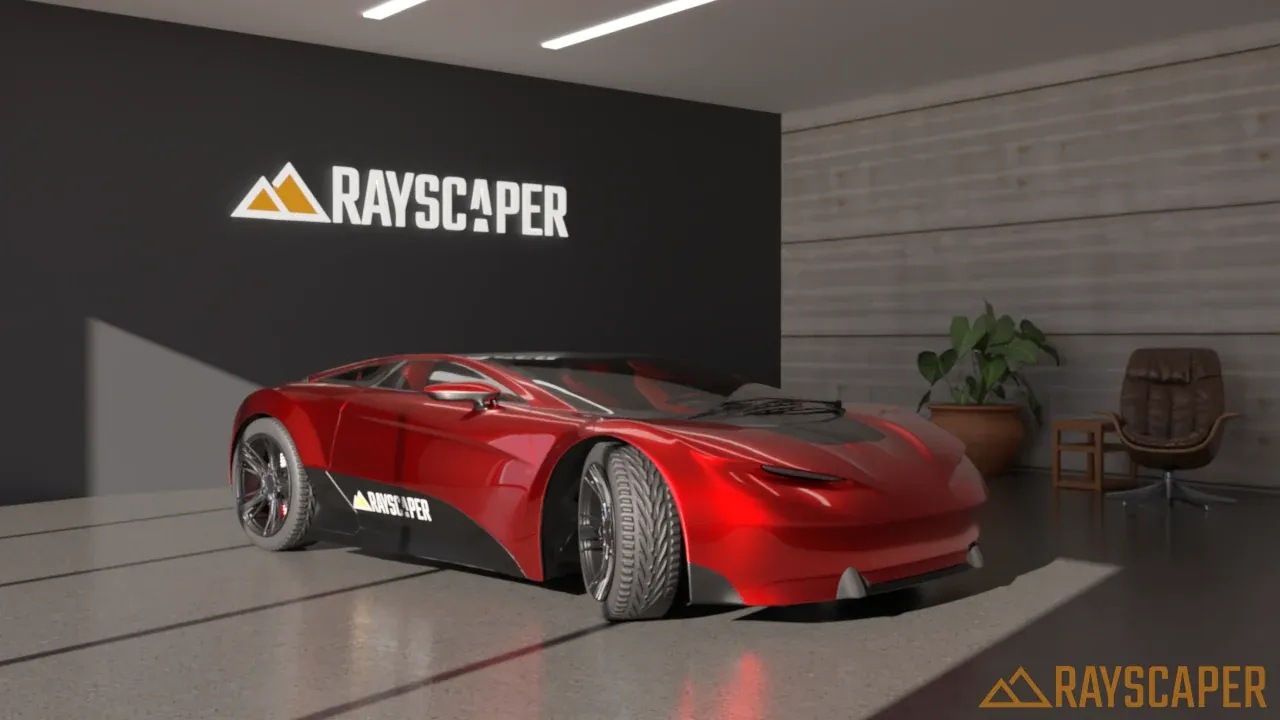
| Operator | Look | When to use |
|---|---|---|
| PBR Neutral (default) | Keeps colors close to the material colors you set, with minimal hue shifts. Highlights roll off gently. | A good default for most work, especially product and material renders where colors must be accurate. |
| ACES Filmic | The film look used in the movie industry: rich contrast, very bright areas fade toward white. | Cinematic architectural renders, scenes with strong sunlight or bright light sources. |
| Filmic | The Hable filmic curve: softer contrast that preserves detail in the shadows. | Interiors and scenes with a lot of dark areas. |
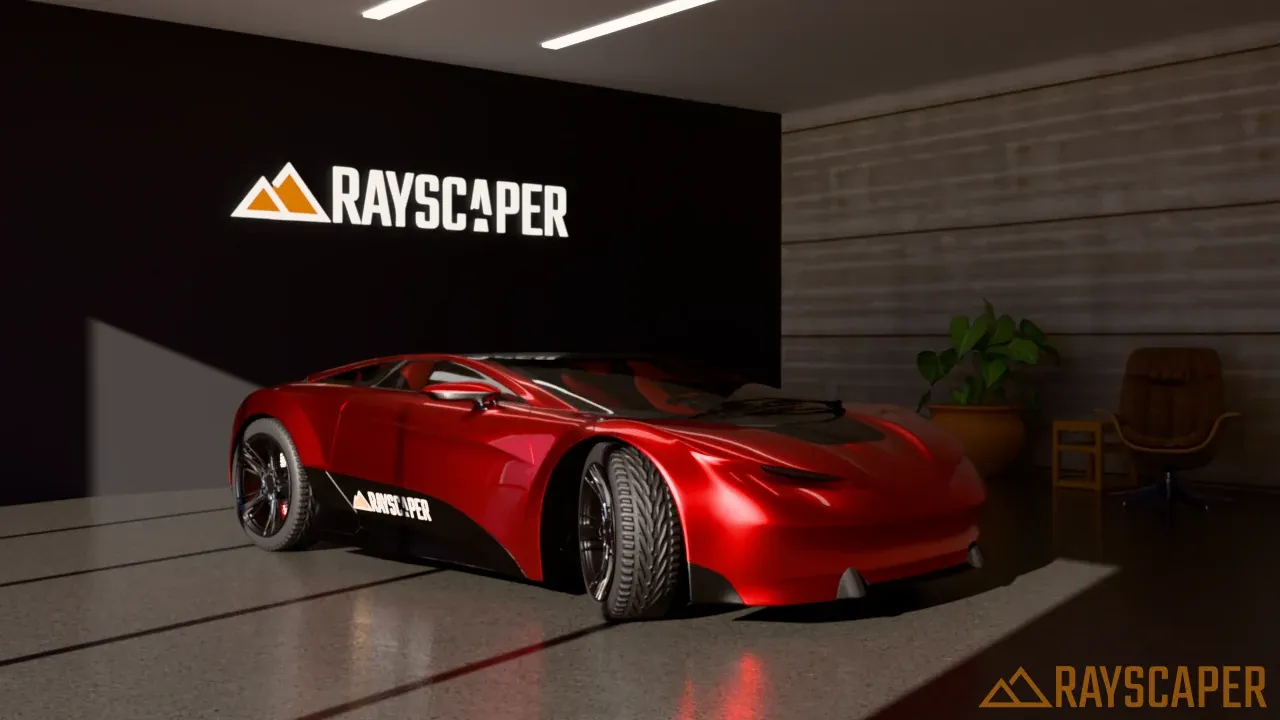
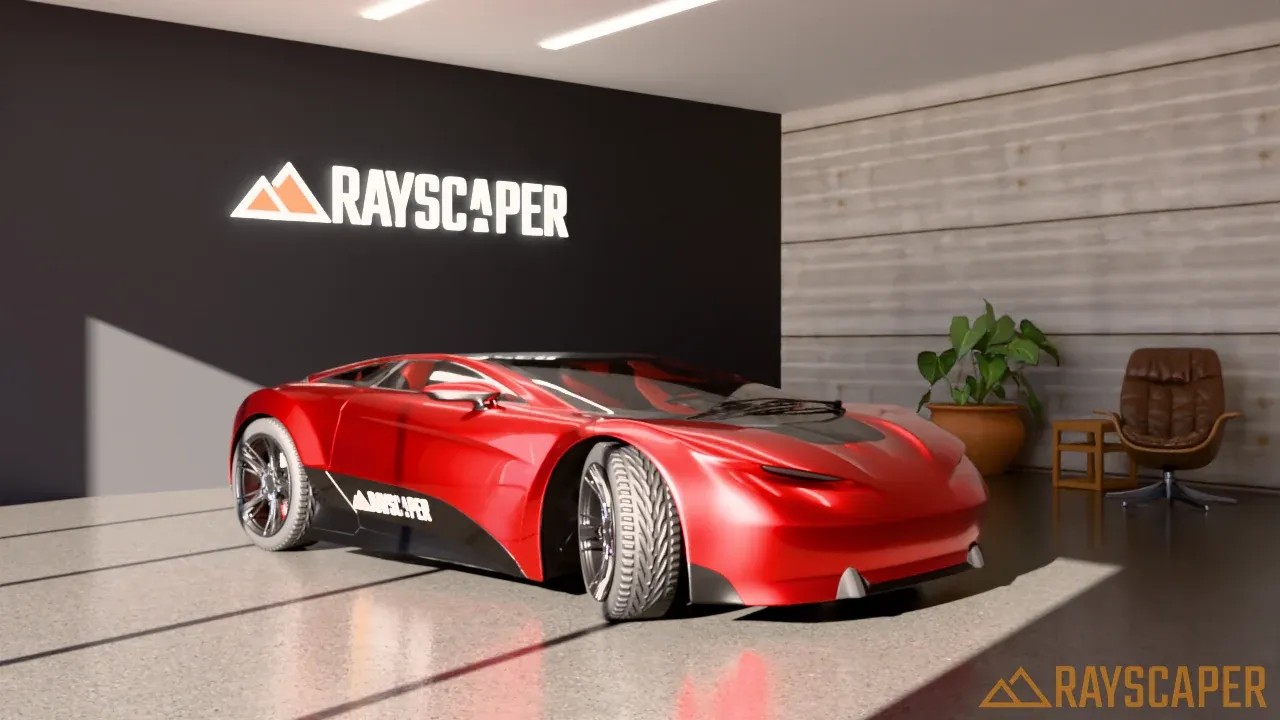
The showroom has deep shadows, a sunlit floor and glowing lamps, so the operators are easy to compare. Look at the sunlit floor, the sign and the red of the car:
Scenes that used the Reinhard or Linear operators of older versions open with PBR Neutral. To grade a render in other software, save it as an EXR, which holds the render before tone mapping.
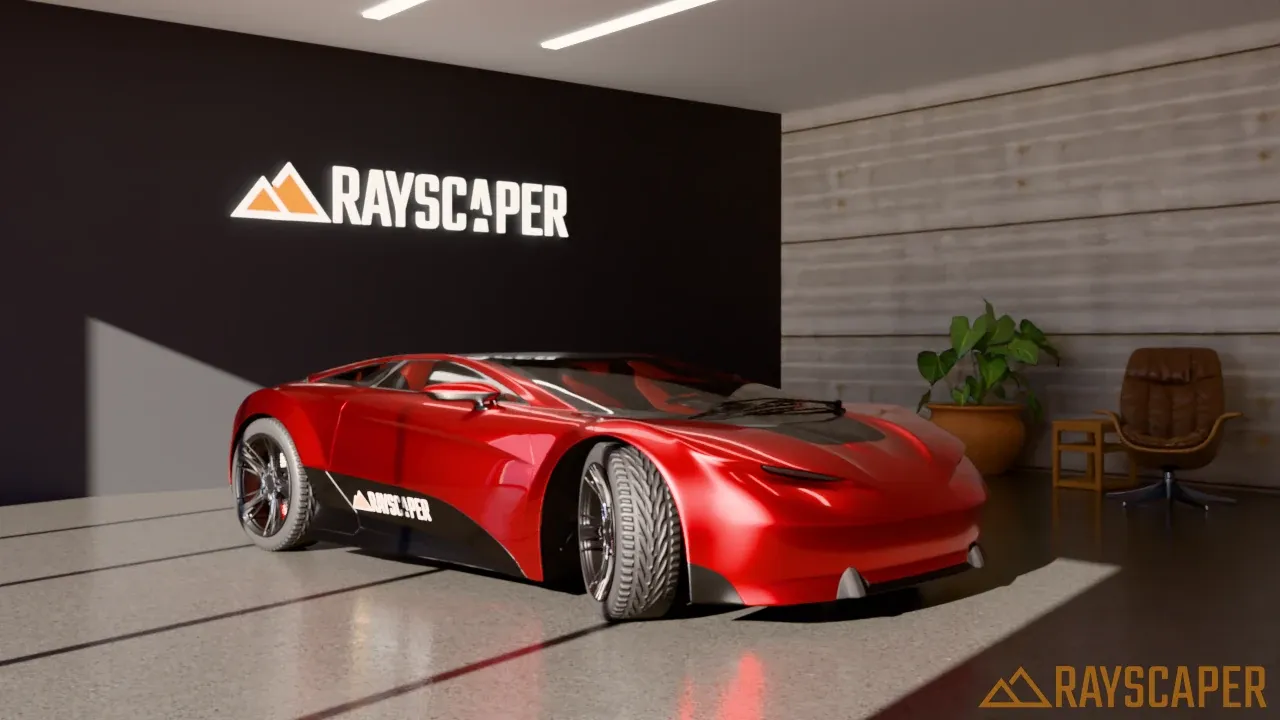
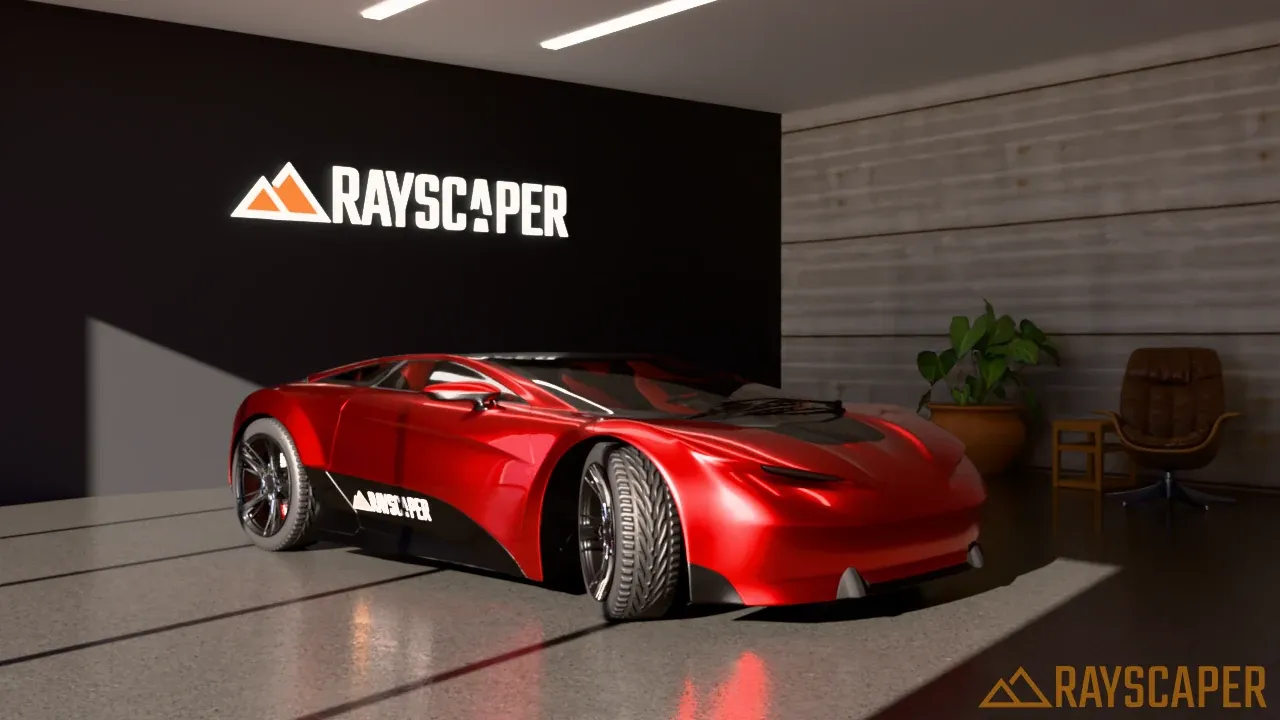
Adjusts white balance and contrast.
Temperature: White balance in Kelvin (2000-12000 K, default 6500 K, which is neutral). Lower values make the image warmer (more orange), higher values cooler (more blue).
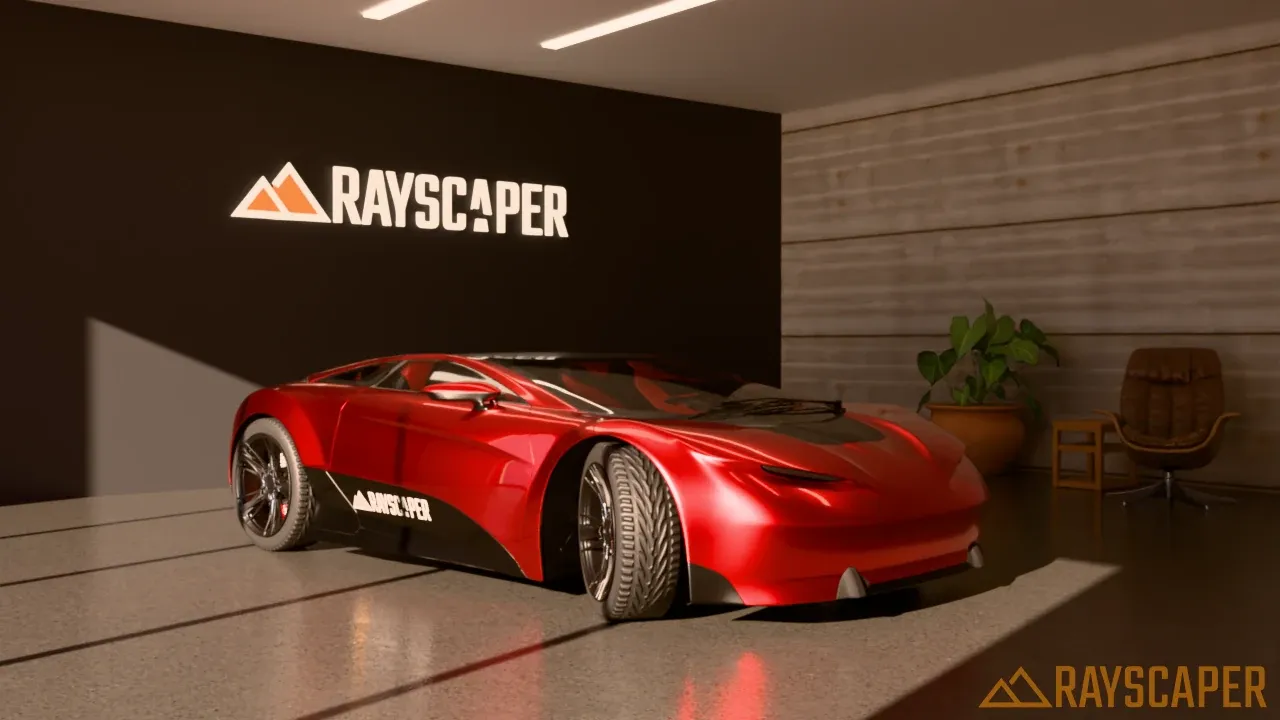
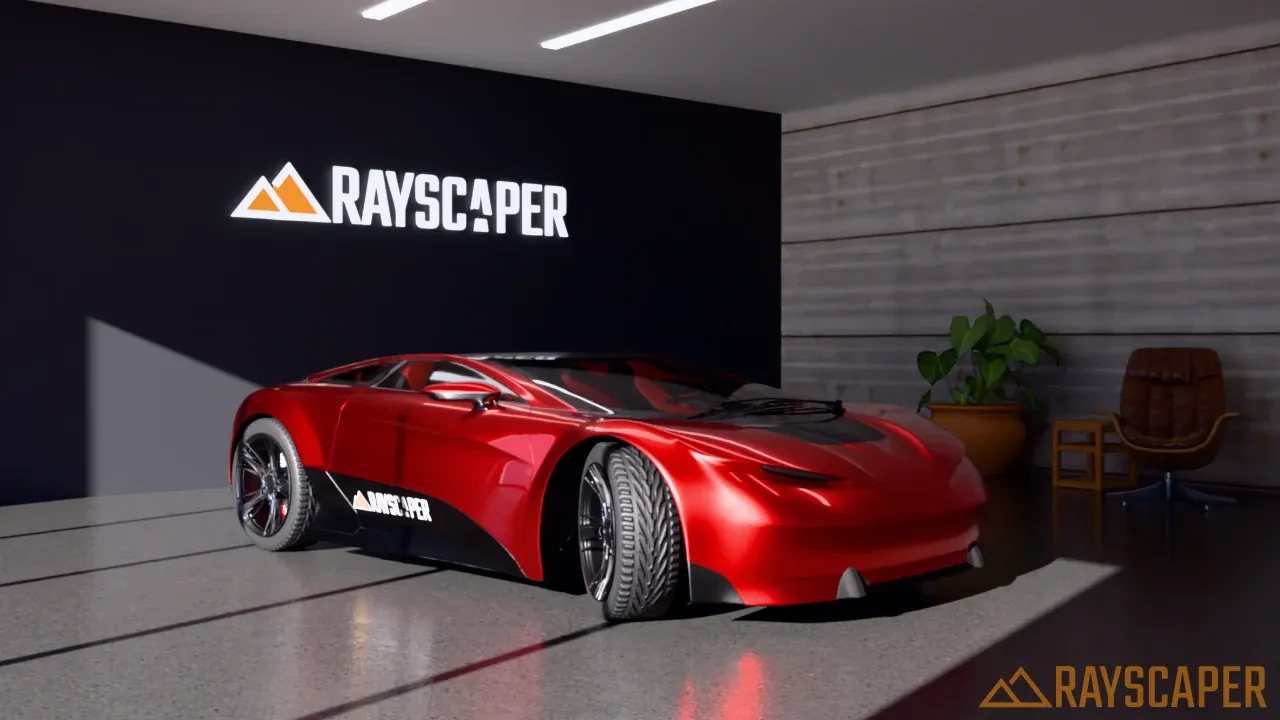
Tint: Shifts the white balance between green (-100) and magenta (+100). Default 0.
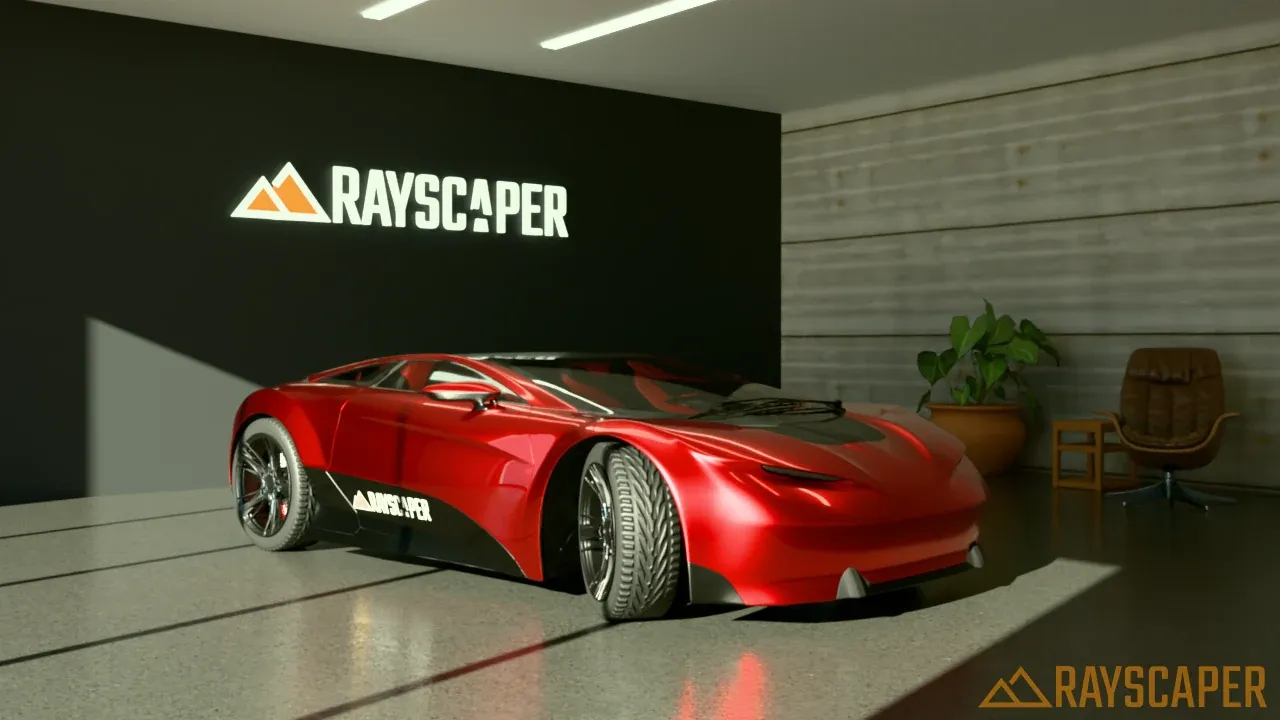
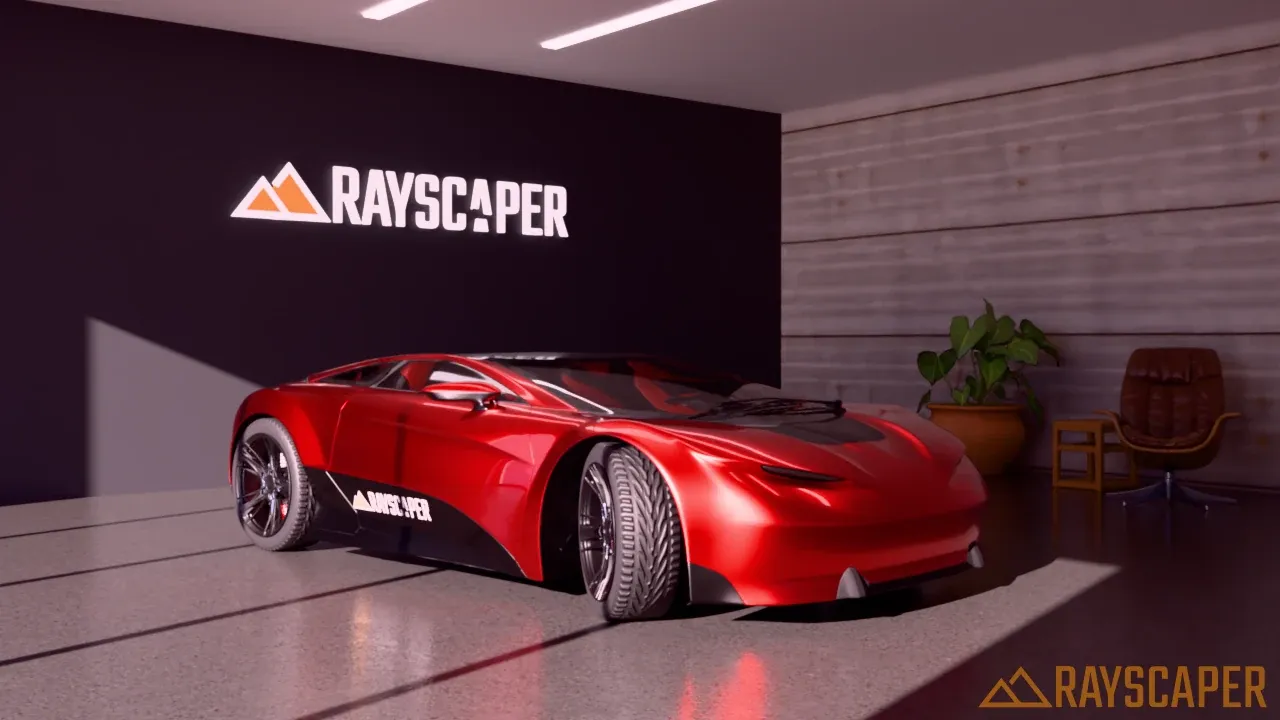
Contrast: Flattens (-100) or increases (+100) the contrast of the image. Default 0.
Lens Effects
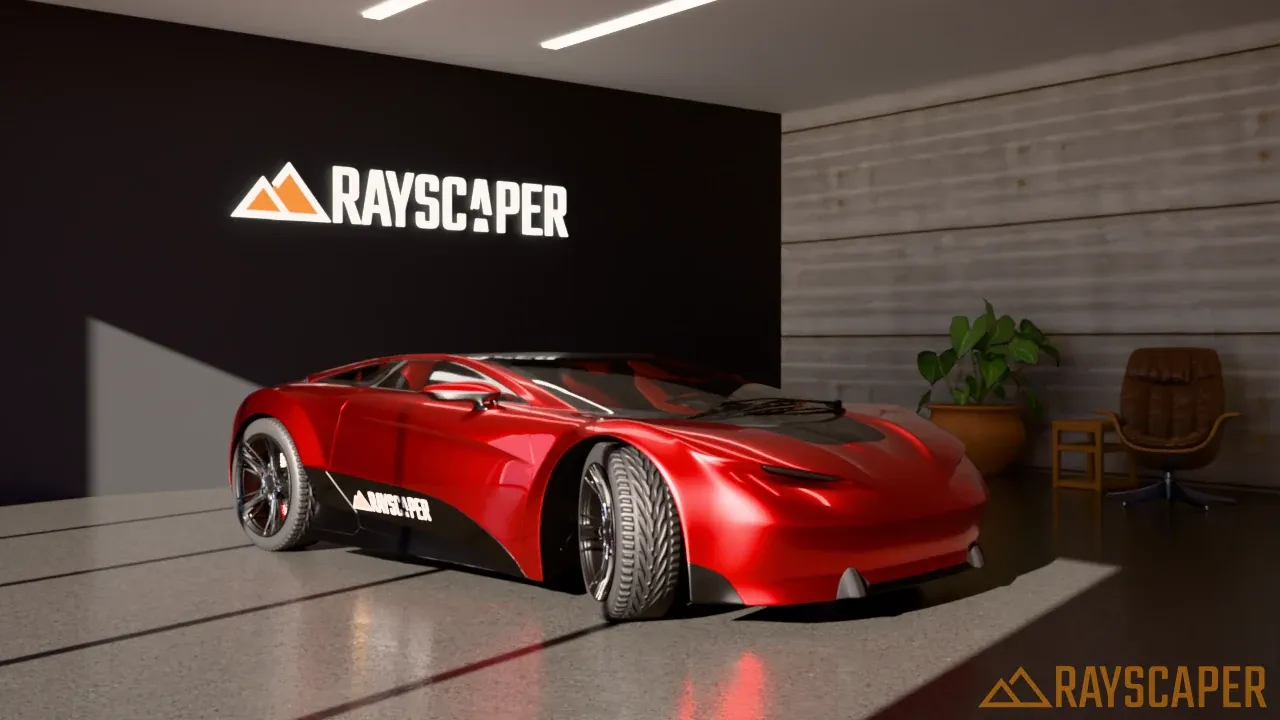
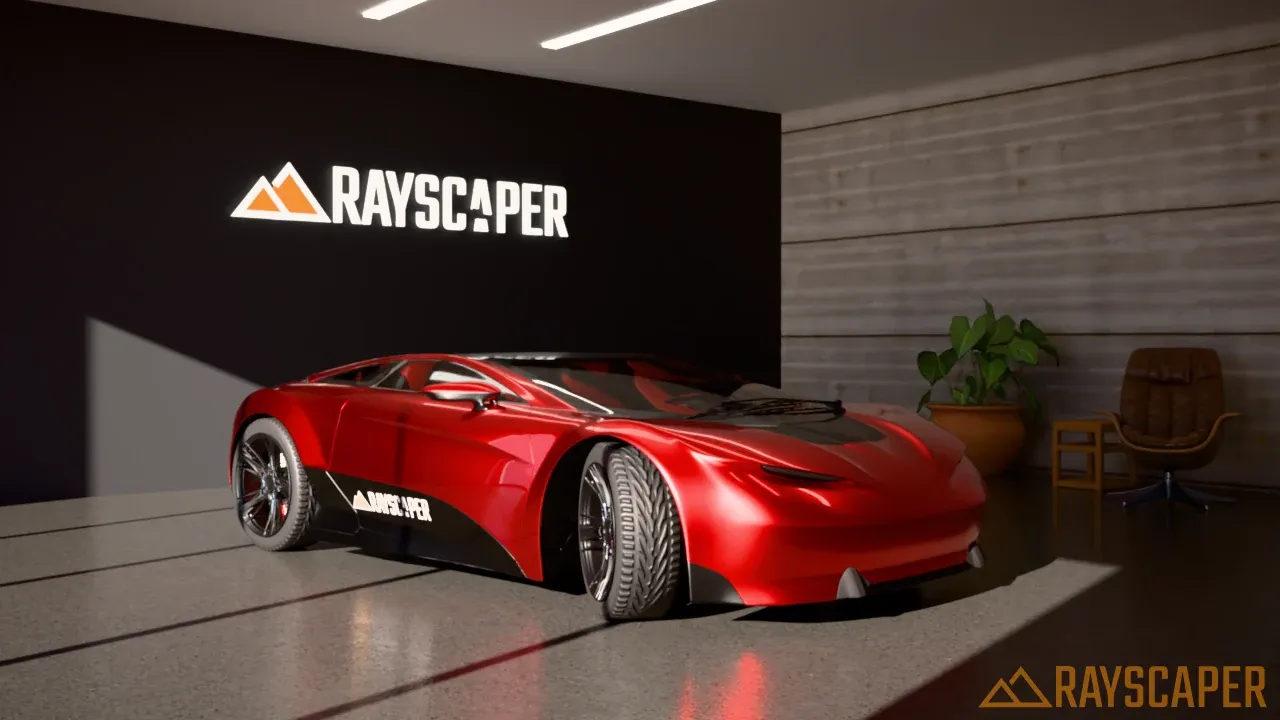
Section titled “Lens Effects”Vignette: Darkens the edges of the image to draw attention to the center (0-100%). Set to 0% to disable.
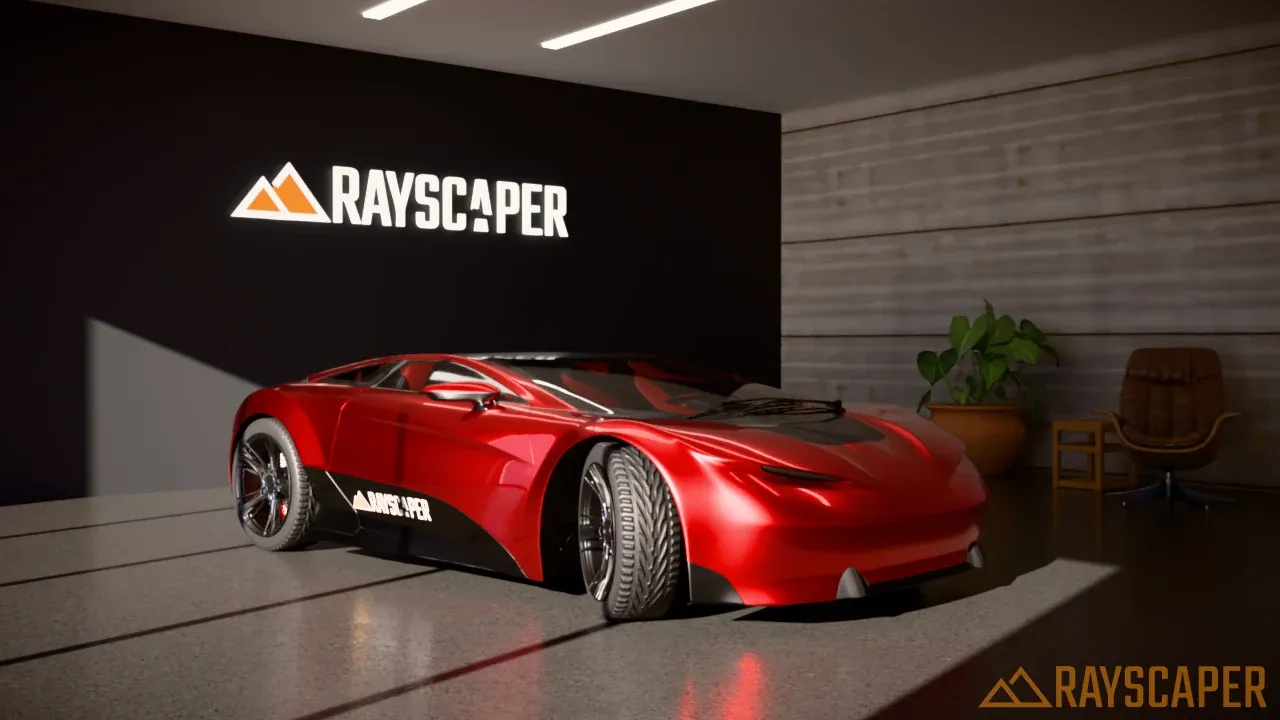
Transparent Backgrounds
Section titled “Transparent Backgrounds”When you turn on Transparent in the Environment section, the viewport shows a checkerboard where the image is transparent. It’s a visual aid only and isn’t included when you save a render.
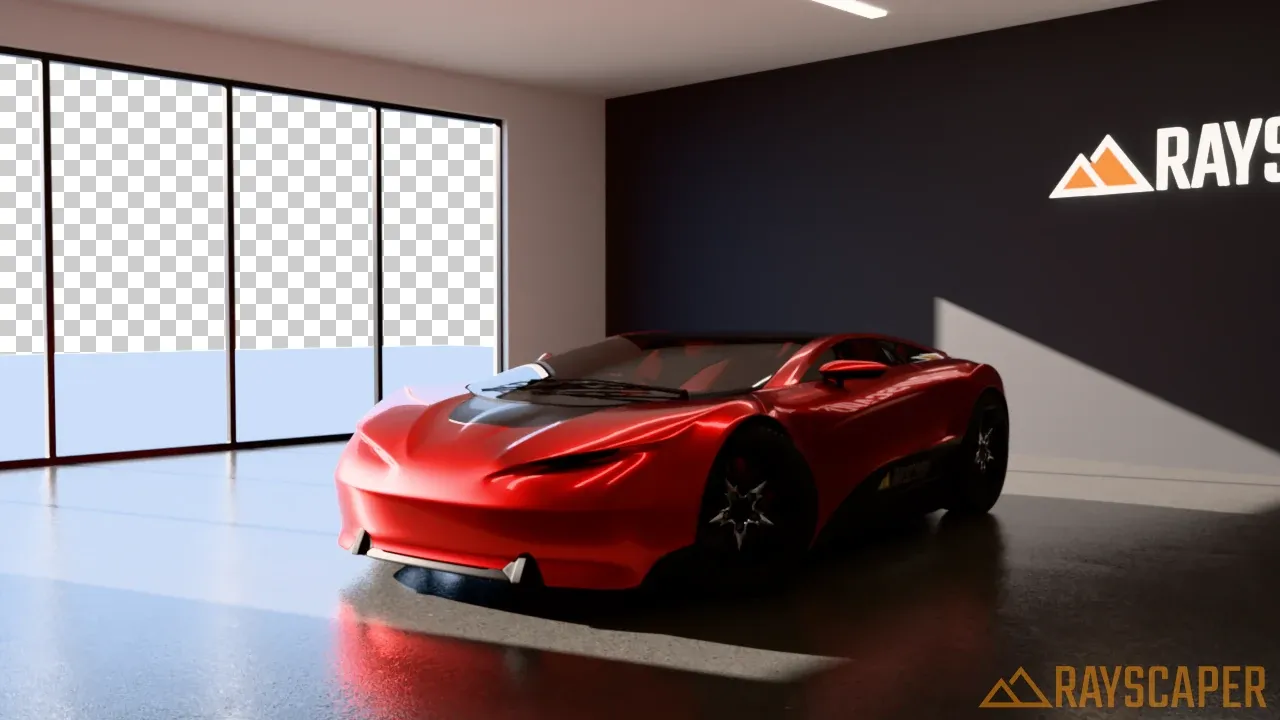
The showroom from the other side, with a transparent environment: the checkerboard shows through the windows.
Reset to Defaults
Section titled “Reset to Defaults”The Reset to Defaults button at the bottom of the section resets all post-processing settings to those of a new model, with AI Denoise and Auto Exposure on.
Credits
Section titled “Credits”The car on this page is based on Car Concept by Eric Chadwick, © 2024 Darmstadt Graphics Group GmbH, from the Khronos glTF Sample Assets and licensed under CC BY 4.0. It is shown with different logos and without the metallic flakes in its paint. The showroom is built from CC0 models and textures from Poly Haven.