Using Skatter with Rayscaper
The Skatter plugin is the go-to solution for scattering vegetation, rocks, and other natural elements across surfaces in SketchUp. Rayscaper automatically detects and renders Skatter compositions — no manual setup required.
This guide walks you through the workflow of creating a Skatter composition and rendering it in Rayscaper.
Prerequisites
Section titled “Prerequisites”- Skatter 2 installed in SketchUp
- Rayscaper installed and working
How It Works
Section titled “How It Works”Rayscaper integrates with Skatter through an observer that listens for composition updates. When Skatter generates or updates scattered instances, Rayscaper automatically picks them up and includes them in the render. You don’t need to enable any settings or configure anything — it just works.
This means you can:
- Add, remove, or modify Skatter compositions and see the results in Rayscaper immediately
- Use Skatter’s paint masks, altitude filters, and slope filters to control placement — Rayscaper renders exactly what Skatter generates
- Combine multiple Skatter compositions (e.g. grass + flowers + trees) in the same scene
Step 1: Prepare Your Scene
Section titled “Step 1: Prepare Your Scene”Start with a SketchUp model that has a surface to scatter objects on. This could be a terrain, a simple rectangle for a ground plane, or any face in your model.
-
Create or open a SketchUp model with ground geometry.
-
Make sure the surface you want to scatter on is a group or component — Skatter requires this.
-
Start Rayscaper from the toolbar so you can see the render update as you add scattered objects.
Step 2: Create a Skatter Composition
Section titled “Step 2: Create a Skatter Composition”Use Skatter’s tools to set up your scattered objects.
-
Open the 3D Bazaar window (Extensions > 3D Bazaar) to browse Skatter-compatible assets like grass, flowers, rocks, and trees.
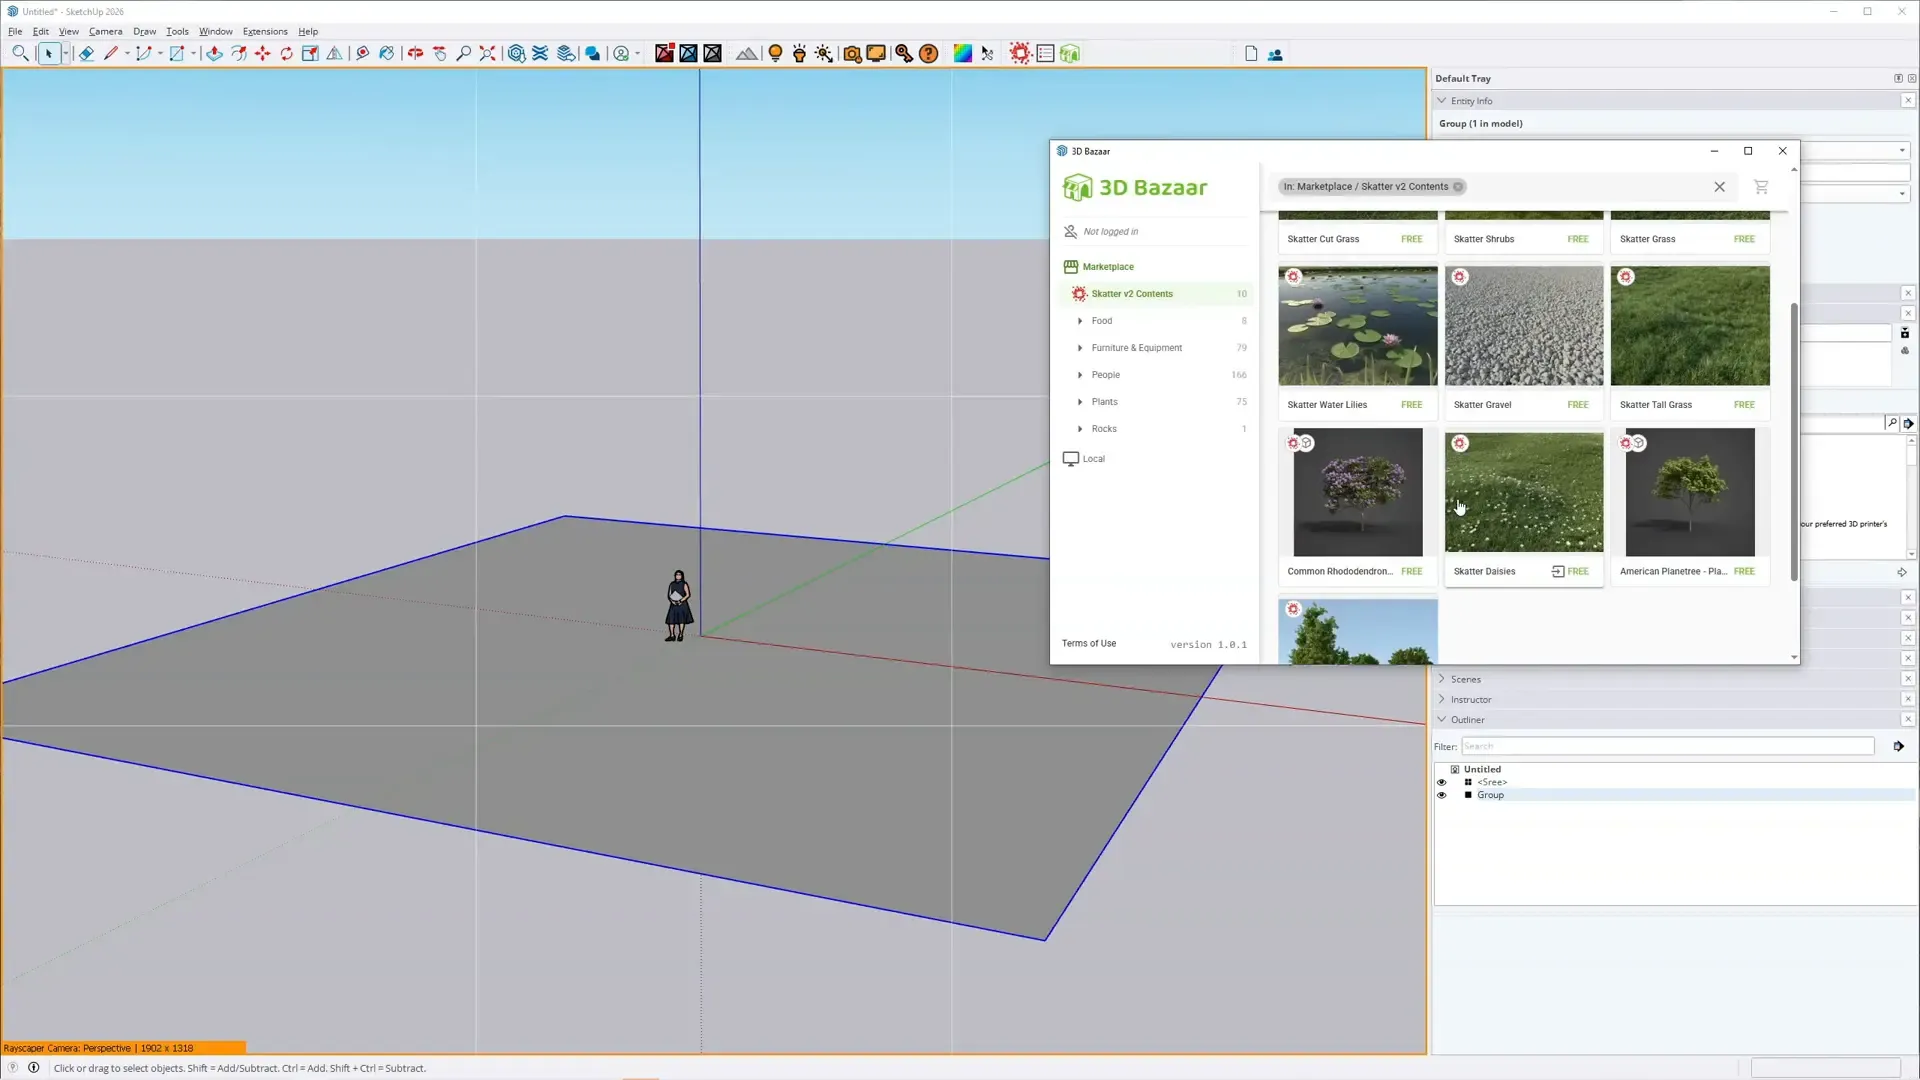
-
Select an asset (e.g. “Skatter Tall Grass”) and click the Skatter button to start a new composition.
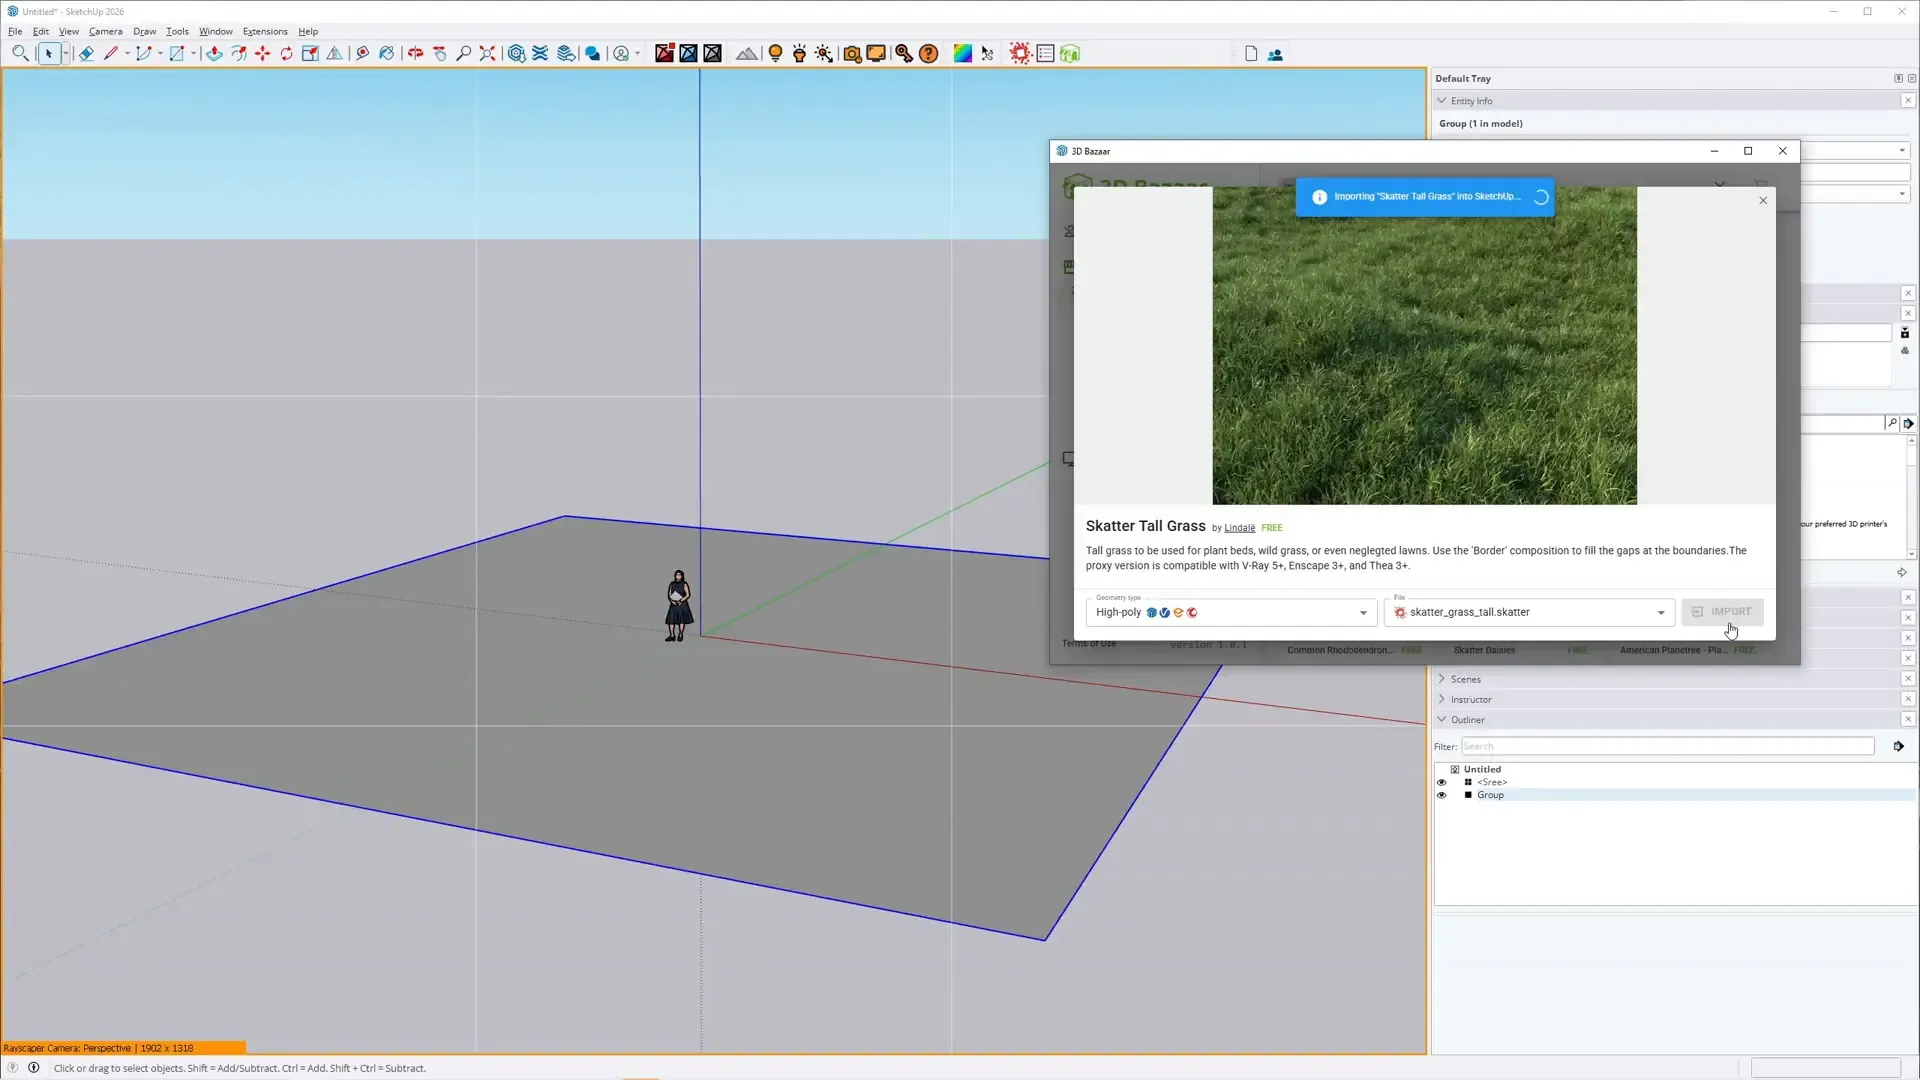
-
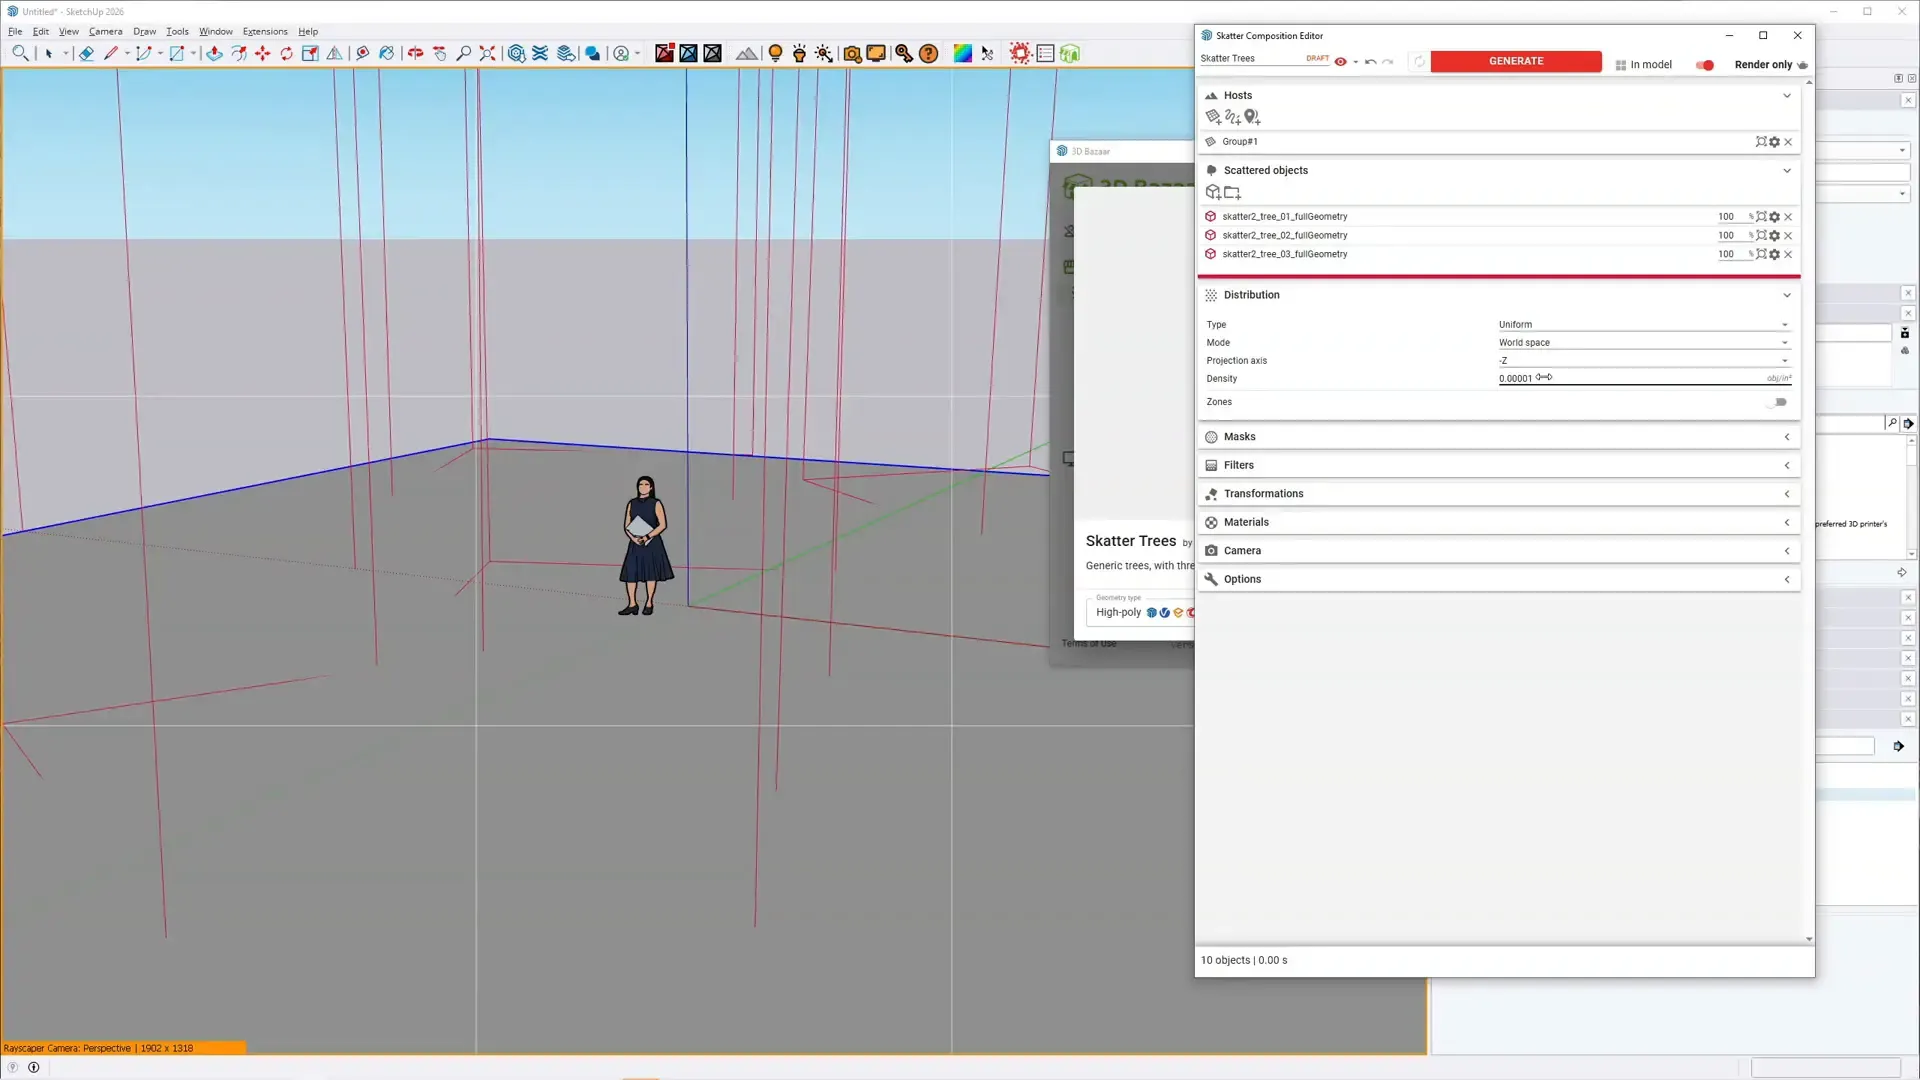
The Skatter Composition Editor opens. Configure the scatter settings:
- Scattered objects — The components to scatter
- Distribution — Density, spacing, and count
- Masks — Paint masks to control where objects appear
- Filters — Altitude and slope filters
- Transformations — Random rotation, scale, and offset
-
When prompted, pick the surface to scatter objects on by clicking the ground geometry in your model.
-
Click Generate to create the scattered instances.
The scattered objects appear as lightweight proxy representations in SketchUp (shown as colored wireframes or bounding boxes to keep the viewport fast).
Step 3: See the Result in Rayscaper
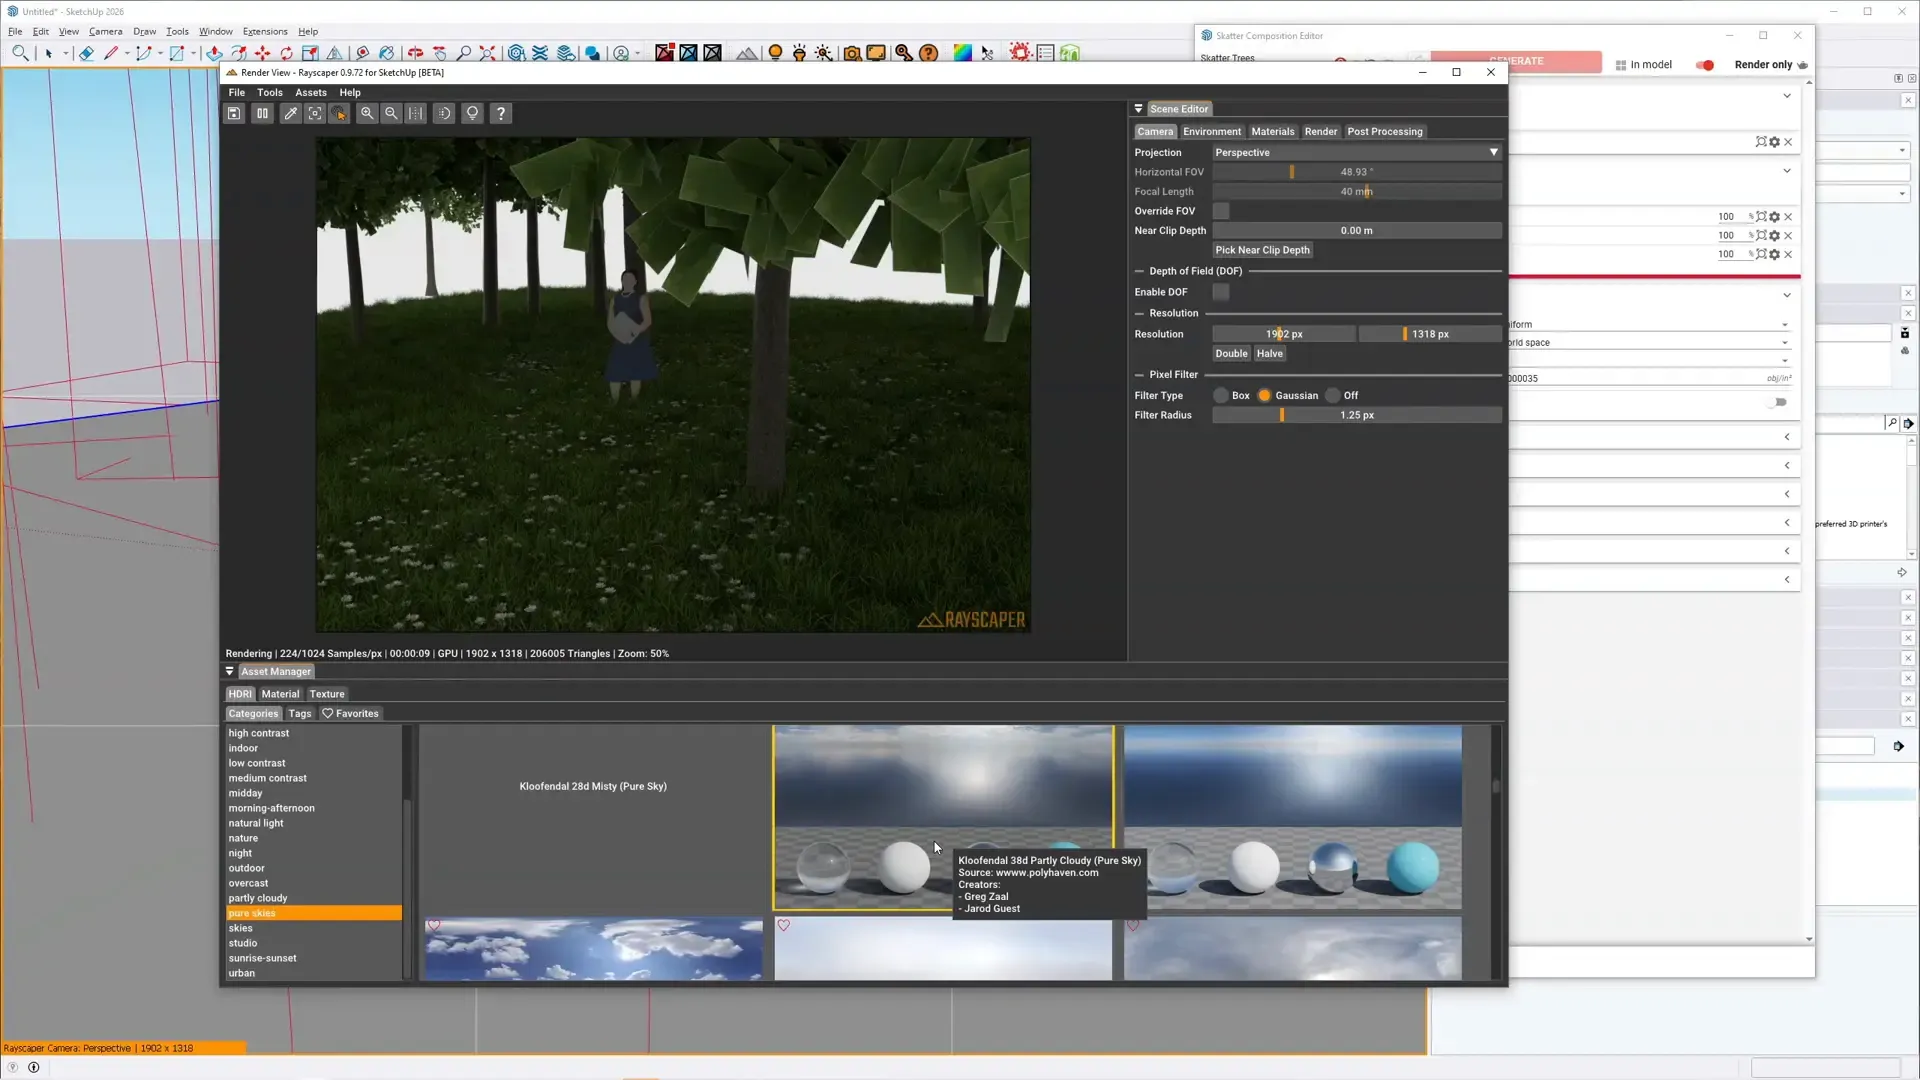
Section titled “Step 3: See the Result in Rayscaper”Once Skatter generates the composition, Rayscaper picks it up automatically. Switch to the Rayscaper window and you’ll see the scattered objects rendered with full detail and lighting.
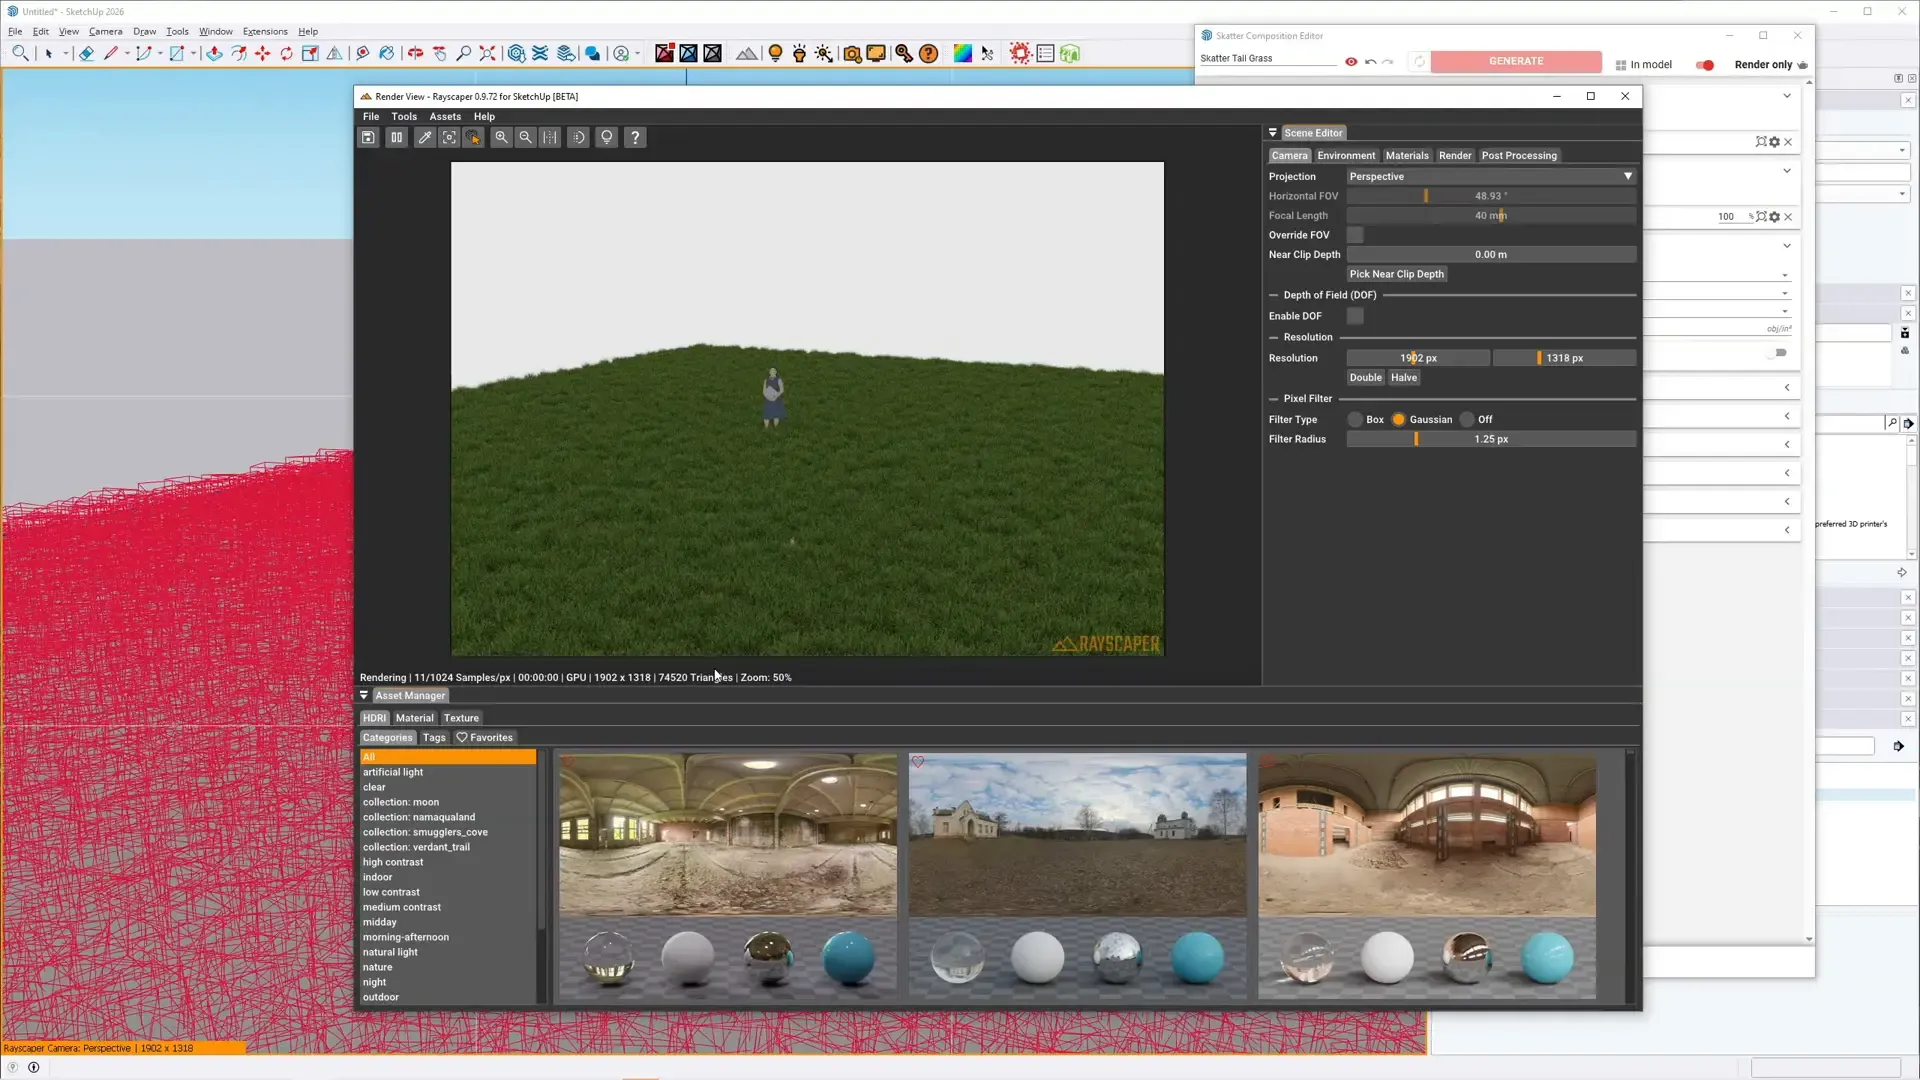
Rayscaper renders the Skatter grass composition automatically. The red wireframes in SketchUp (left) become fully rendered geometry in Rayscaper (center).
There’s nothing to configure on the Rayscaper side — the integration is seamless. As you make changes in Skatter (adjusting density, moving masks, regenerating), Rayscaper updates in real-time.
Step 4: Add More Compositions
Section titled “Step 4: Add More Compositions”You can layer multiple Skatter compositions to build up a natural-looking environment:
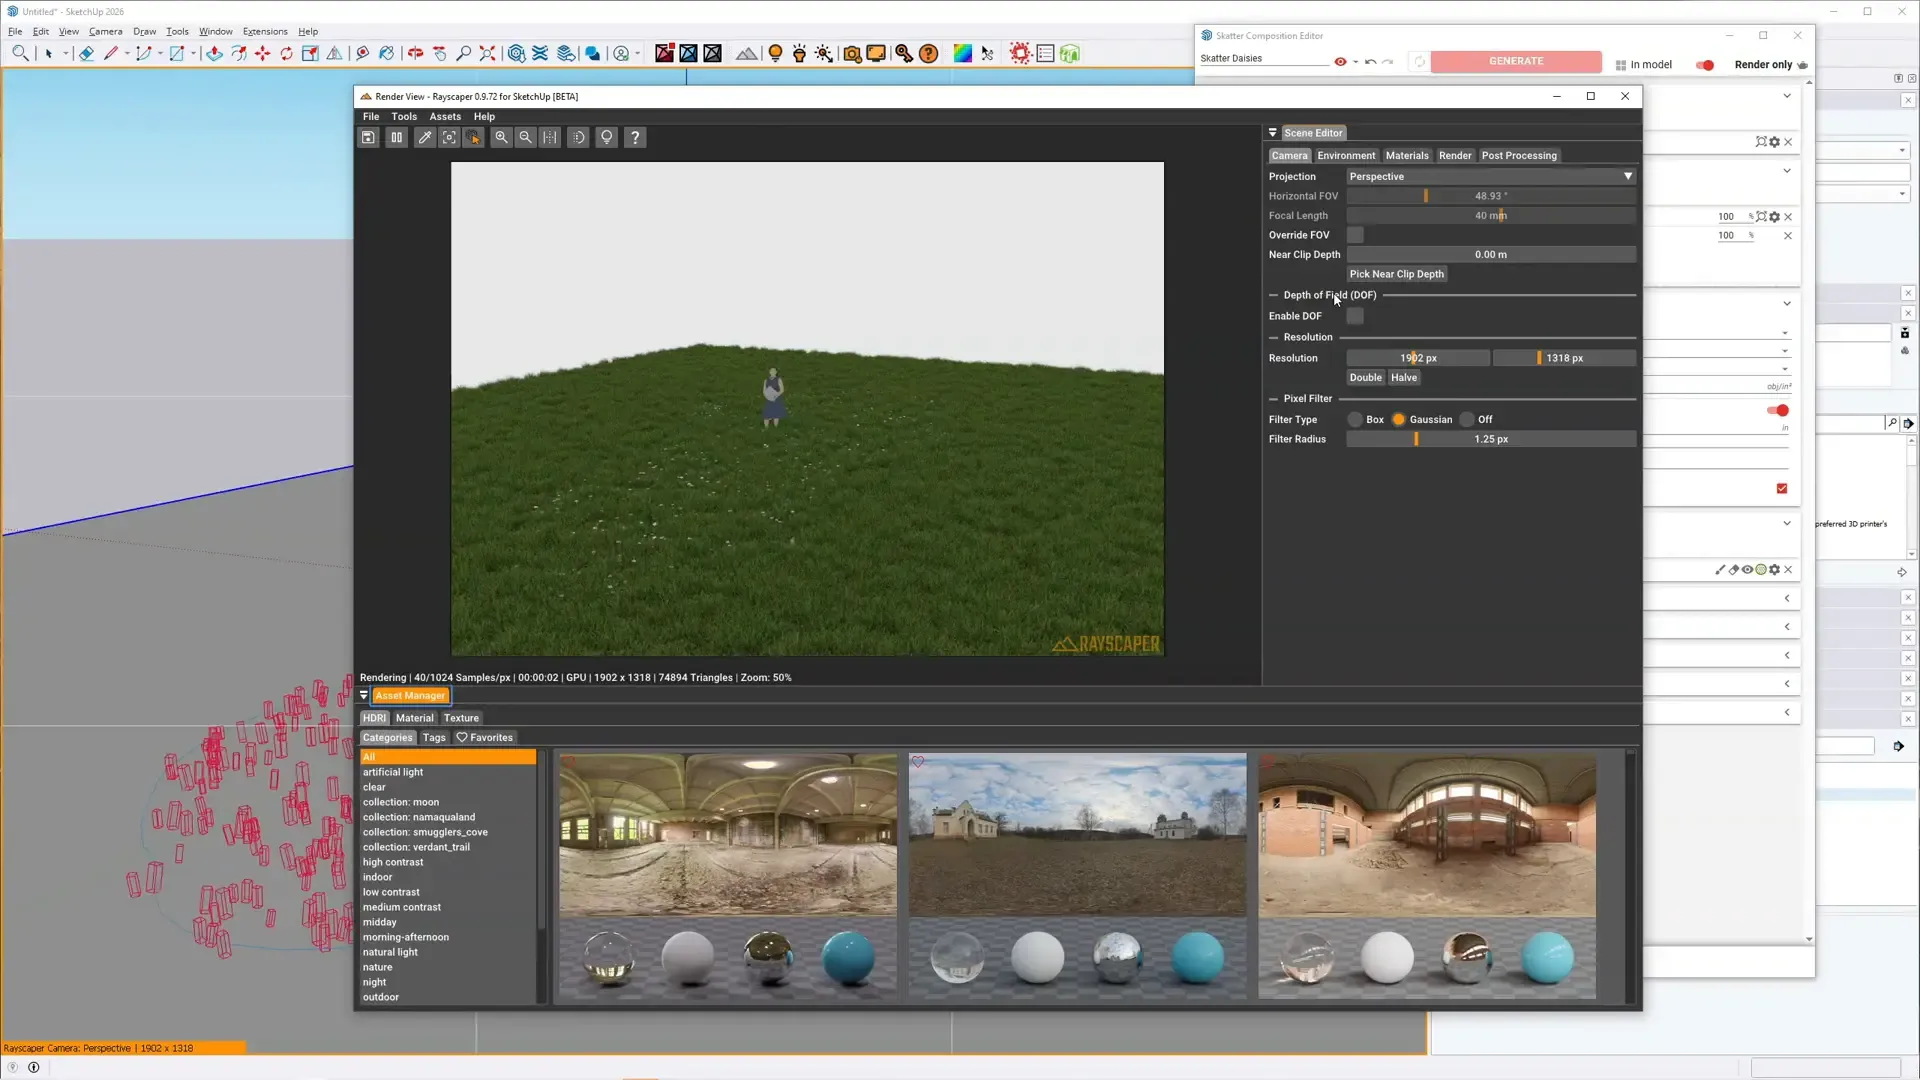
-
Create a second Skatter composition (e.g. “Skatter Daisies” for wildflowers).
-
Use a paint mask to control where the flowers appear — paint directly on the surface in SketchUp to define the scatter area.
-
Add a third composition for trees, with lower density and larger spacing.
-
Each composition updates independently in Rayscaper.
Step 5: Final Render
Section titled “Step 5: Final Render”Set up your environment, camera, and lighting in Rayscaper as you normally would. The Skatter objects are treated like any other geometry — they receive shadows, reflect in materials, and interact with all light sources.
The final render combining grass, daisies, and trees — all placed with Skatter and rendered automatically by Rayscaper.
- Apply an HDRI environment for realistic outdoor lighting
- Adjust camera settings for depth of field
- Add lights for additional illumination if needed
- Performance: Large Skatter compositions with thousands of instances render efficiently in Rayscaper. The proxy system means SketchUp stays responsive while Rayscaper handles the full geometry.
- Materials: Skatter assets from 3D Bazaar come with materials that Rayscaper converts automatically. You can further adjust materials in Rayscaper’s Scene Editor.
- Updates are live: Any change to a Skatter composition (density, mask, objects) is immediately reflected in Rayscaper. No need to restart or refresh.
- Multiple surfaces: You can scatter on different surfaces in the same scene — each composition is independent.