Render Methods
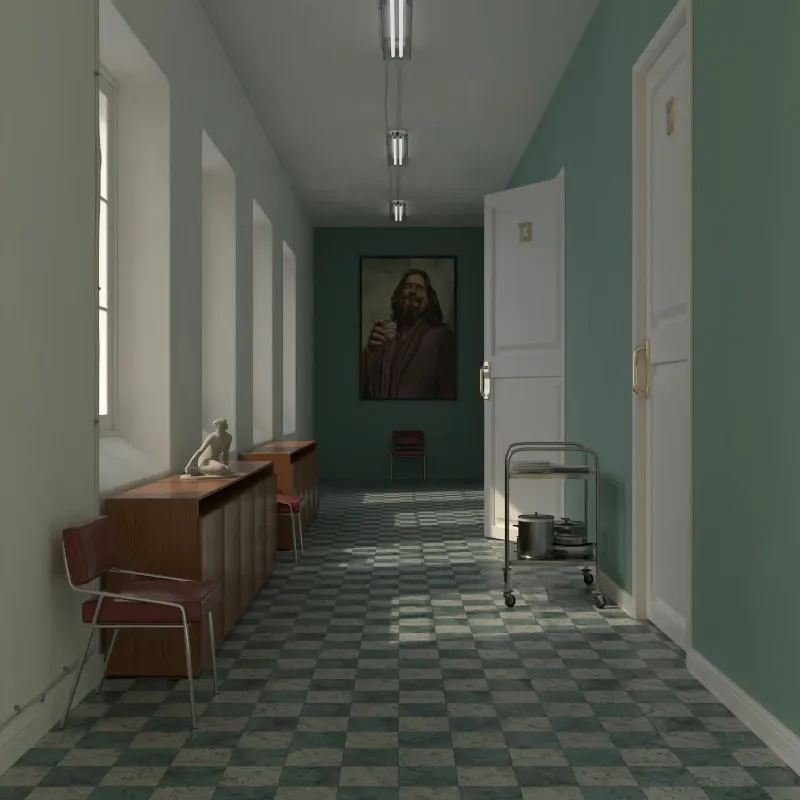
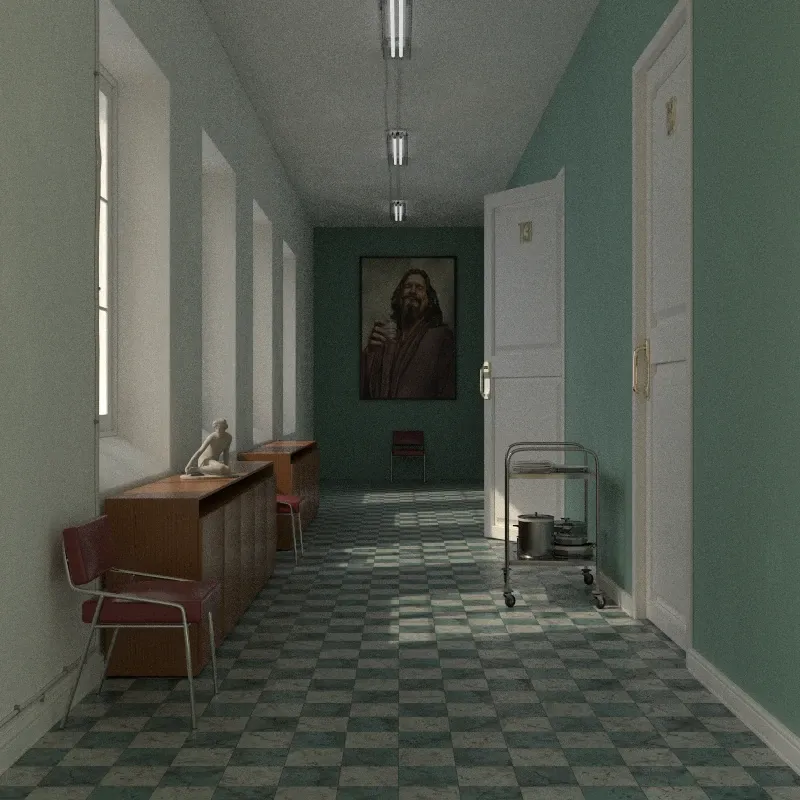
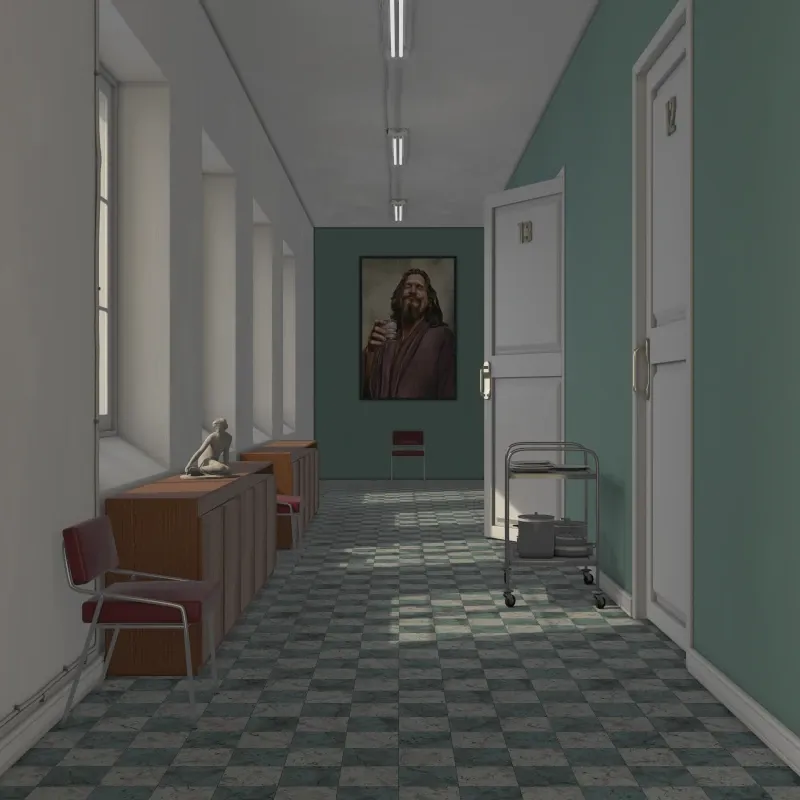
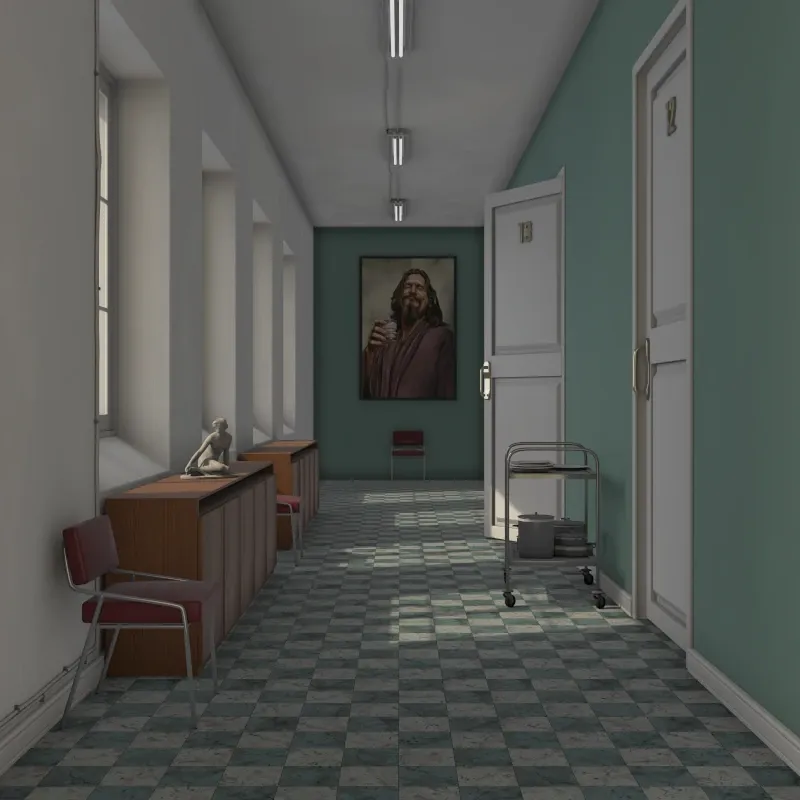
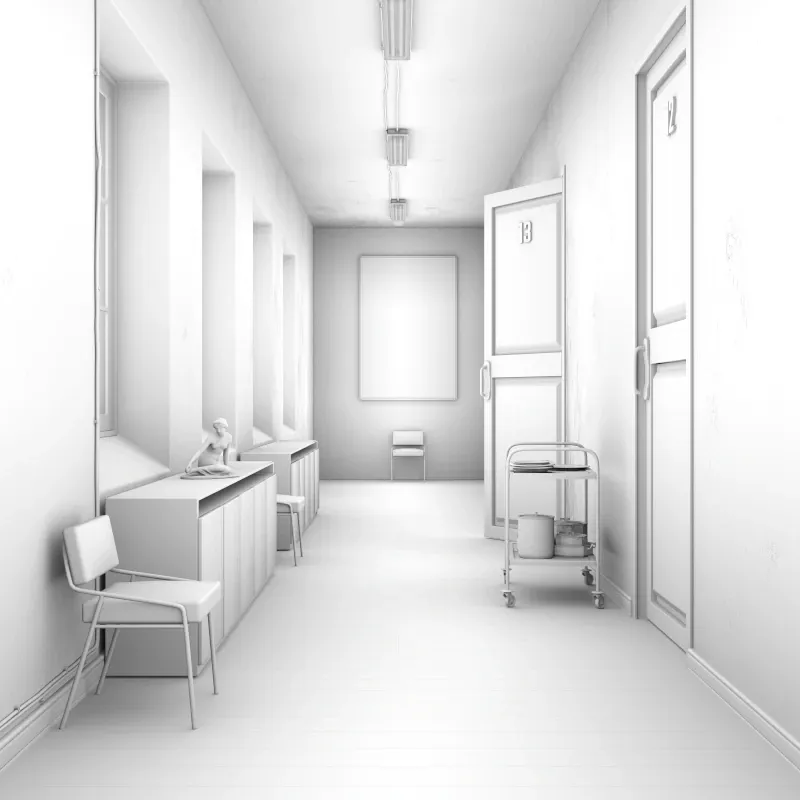
Hall scene rendered with global illumination. Scene courtesy of Rich O’Brien from SketchUcation.
Rayscaper offers several render methods, from photorealistic global illumination to diagnostic passes for debugging and compositing. Configure render settings in the Render tab.
The Render tab.
Common Settings
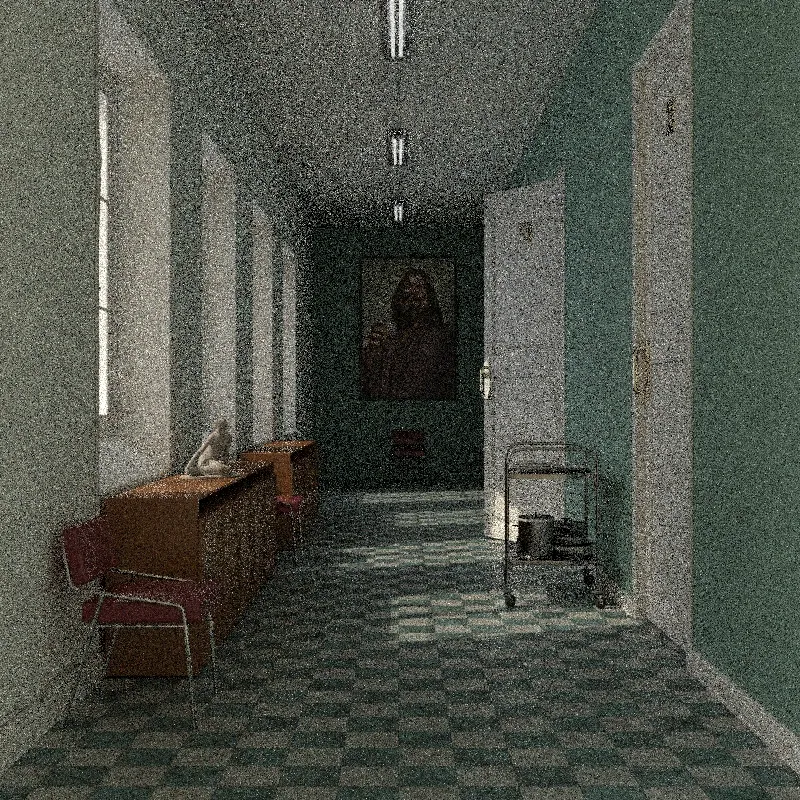
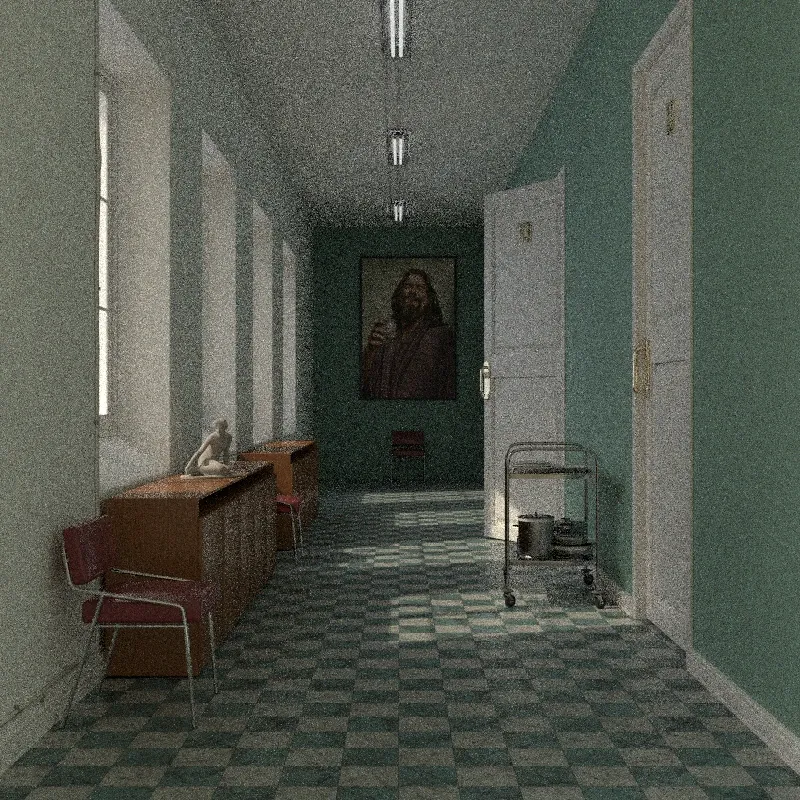
Section titled “Common Settings”Samples per Pixel: Number of samples calculated per pixel. More samples reduce noise but increase render time. Do test renders at lower resolution to find the right balance for your scene.

Photorealistic Methods
Section titled “Photorealistic Methods”Global Illumination
Section titled “Global Illumination”Global illumination (GI) simulates physically accurate light behavior, including indirect light bouncing between surfaces. This produces the most realistic results but takes longer to render. Use this for final renders.
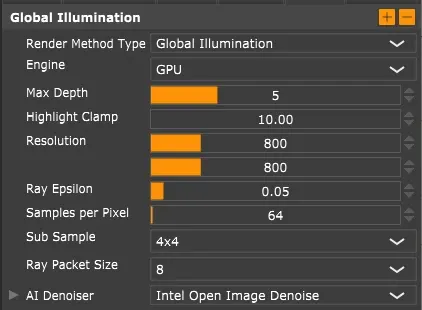
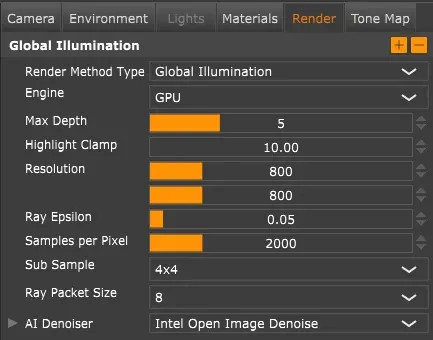
Global illumination settings.
Max Diffuse Depth: Maximum bounces for diffuse (matte) reflections.
Max Glossy Depth: Maximum bounces for glossy (shiny) reflections.
Max Transmission Depth: Maximum bounces for light passing through transparent materials like glass.
Higher values capture more indirect light but increase render time. The defaults work well for most scenes. Setting values too low results in dark renders.

Highlight Clamp: Limits extremely bright pixels (fireflies) that can appear in complex lighting. Set to 0 to disable. The default works for most scenes.
Approximate Global Illumination
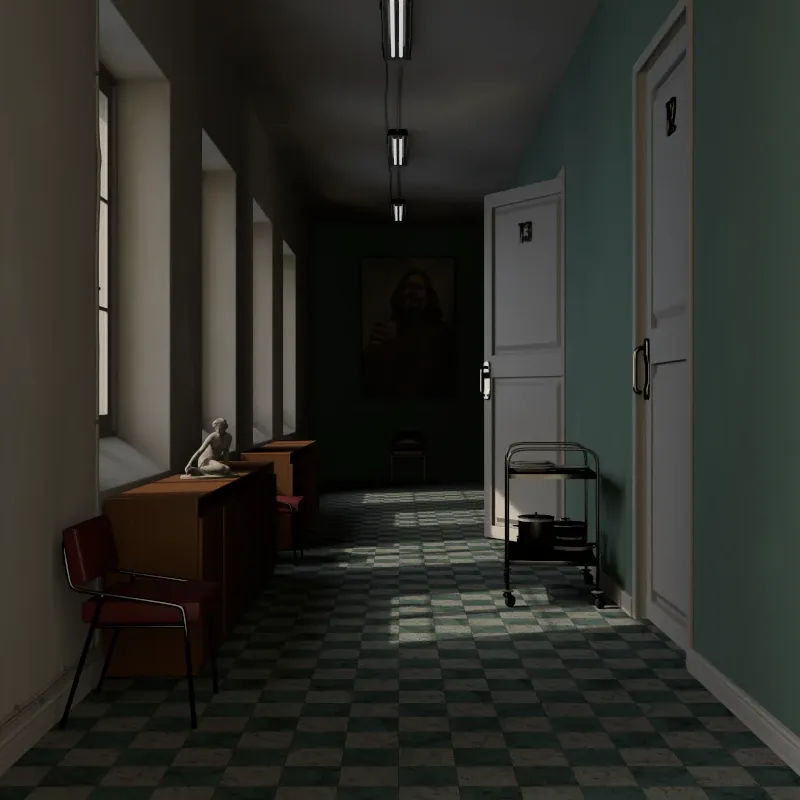
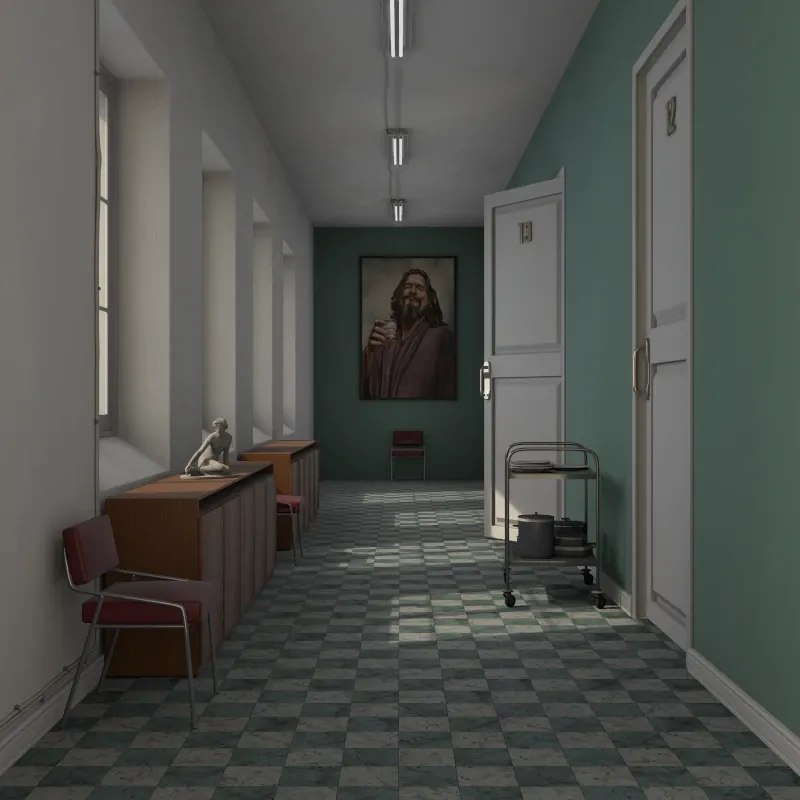
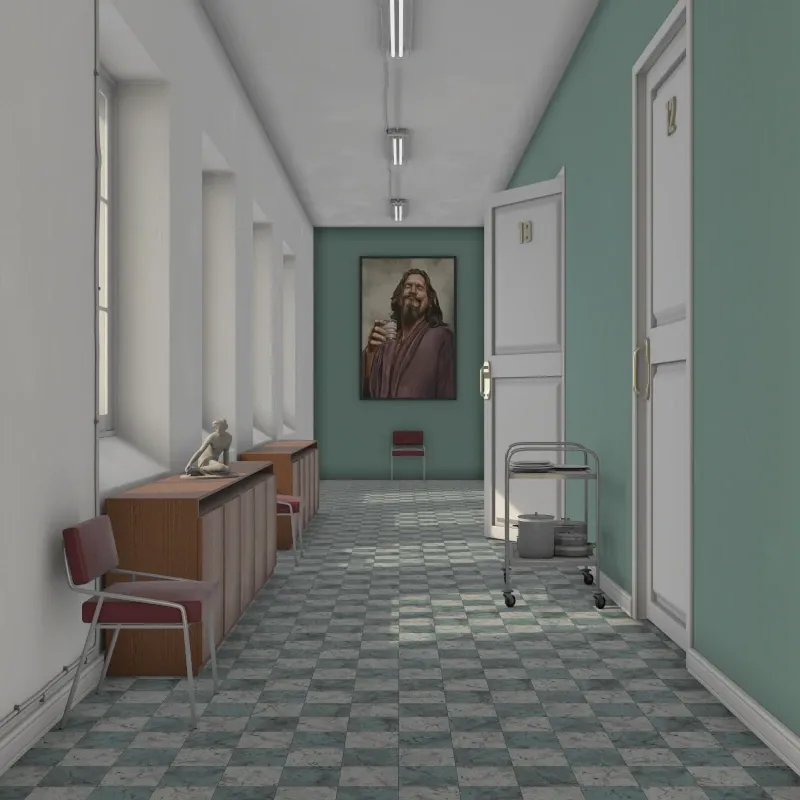
Section titled “Approximate Global Illumination”A faster alternative to full global illumination. Uses shortcuts to speed up rendering while still producing good results. Recommended for previews or slower hardware.
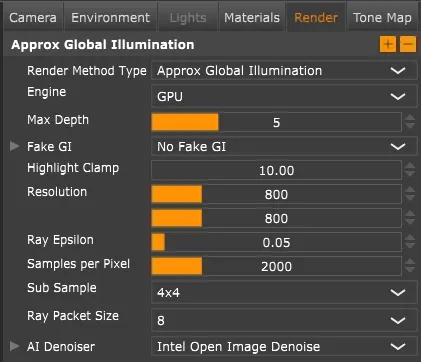
Approximate GI settings.
Max Transmission Depth: Same as global illumination.
Highlight Clamp: Same as global illumination.
Fake GI
Section titled “Fake GI”These options simulate indirect lighting without calculating actual light bounces.

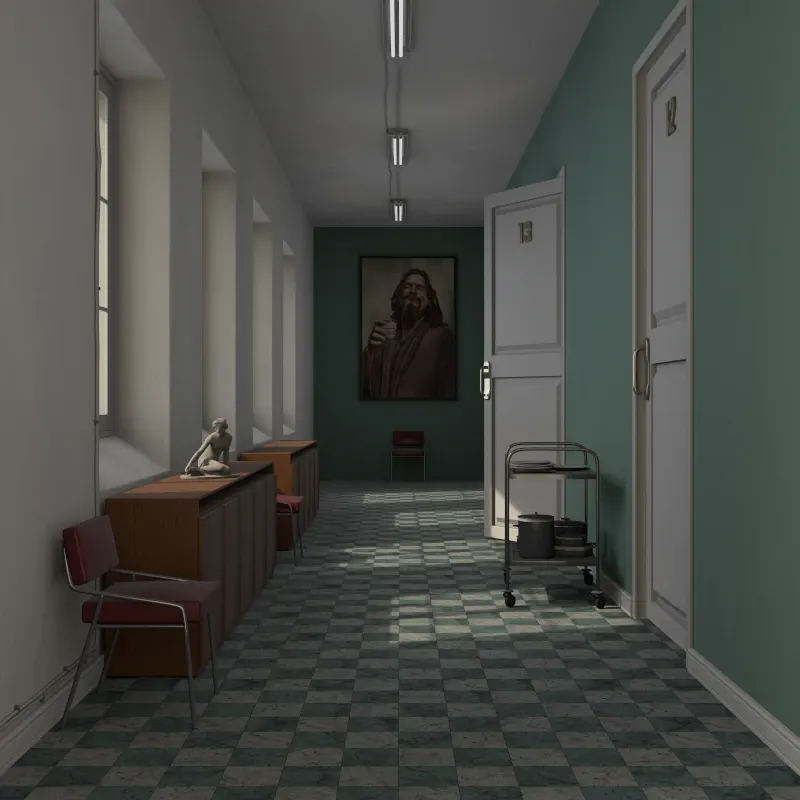
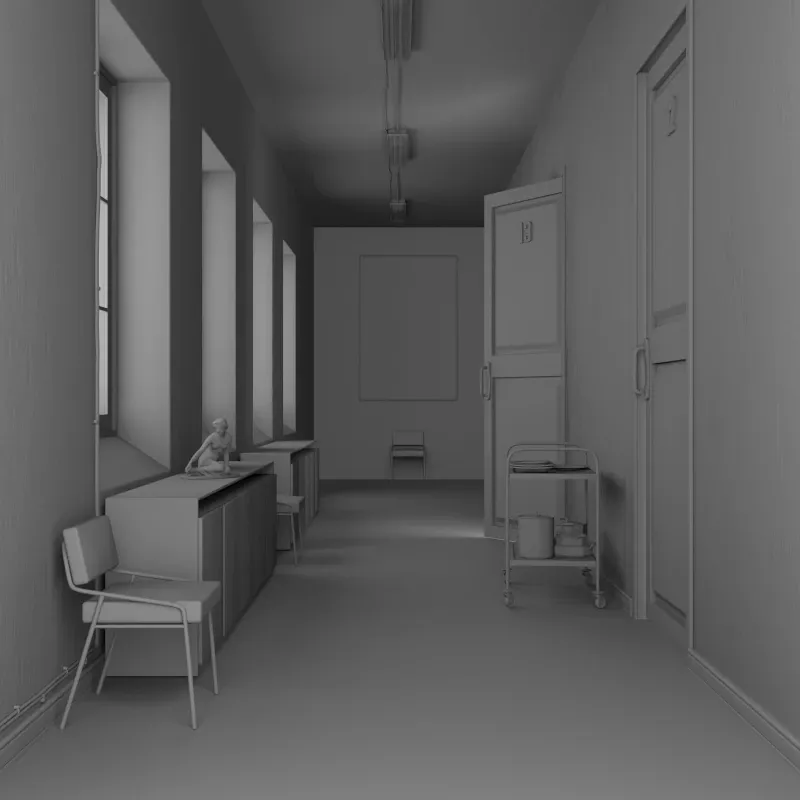
Off: Only direct lighting from light sources. Areas not directly lit appear dark.
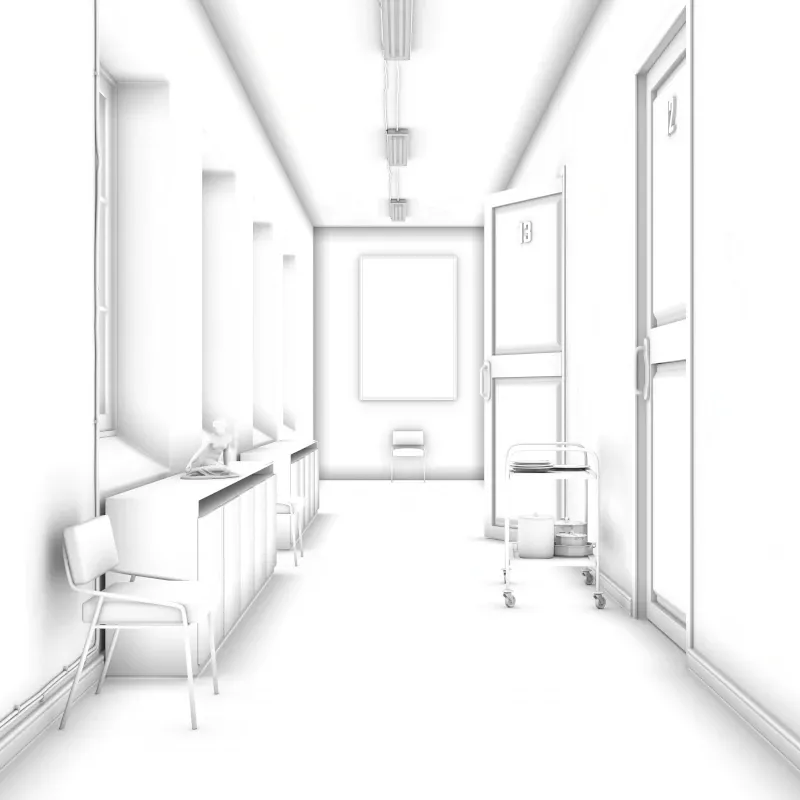
Ambient Occlusion: Simulates soft indirect lighting using ambient occlusion. Darkens corners and crevices for added depth. Useful for quick visualization without complex lighting setups.
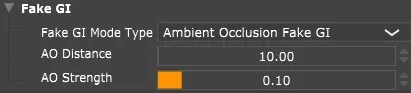
Ambient occlusion settings.
AO Distance: How far to check for occlusion (0.001-100m). Higher values darken larger areas.

AO Strength: Intensity of the darkening effect.

Diagnostic Methods
Section titled “Diagnostic Methods”These methods help debug scenes or create passes for compositing in software like Photoshop or After Effects.
Albedo
Section titled “Albedo”Shows the base color of each surface without lighting or shading.
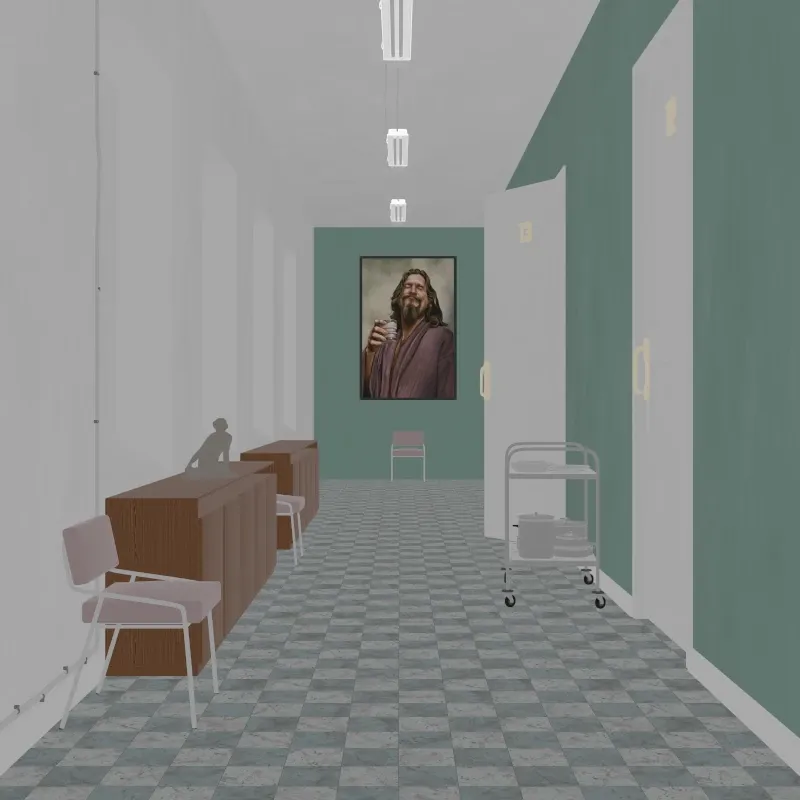
Albedo pass.
Ambient Occlusion
Section titled “Ambient Occlusion”Renders only the ambient occlusion effect. Useful as a compositing pass to add depth in post-processing.
AO Distance: How far to check for occlusion (0.001-100m). Higher values darken larger areas.
Geometric Normals
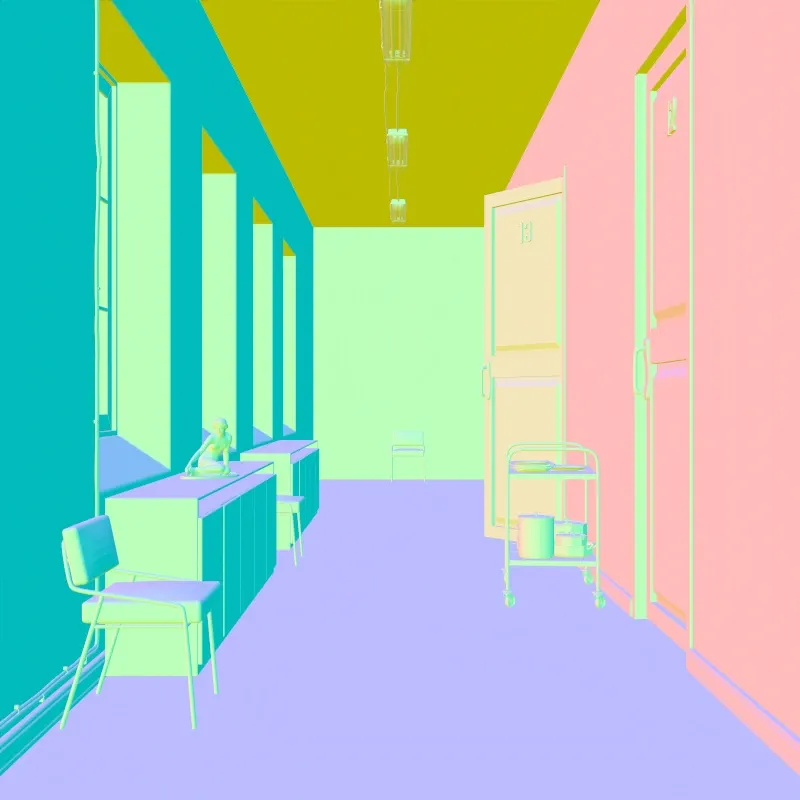
Section titled “Geometric Normals”Shows surface orientation based on geometry. XYZ normal directions map to RGB colors.
Shading Normals
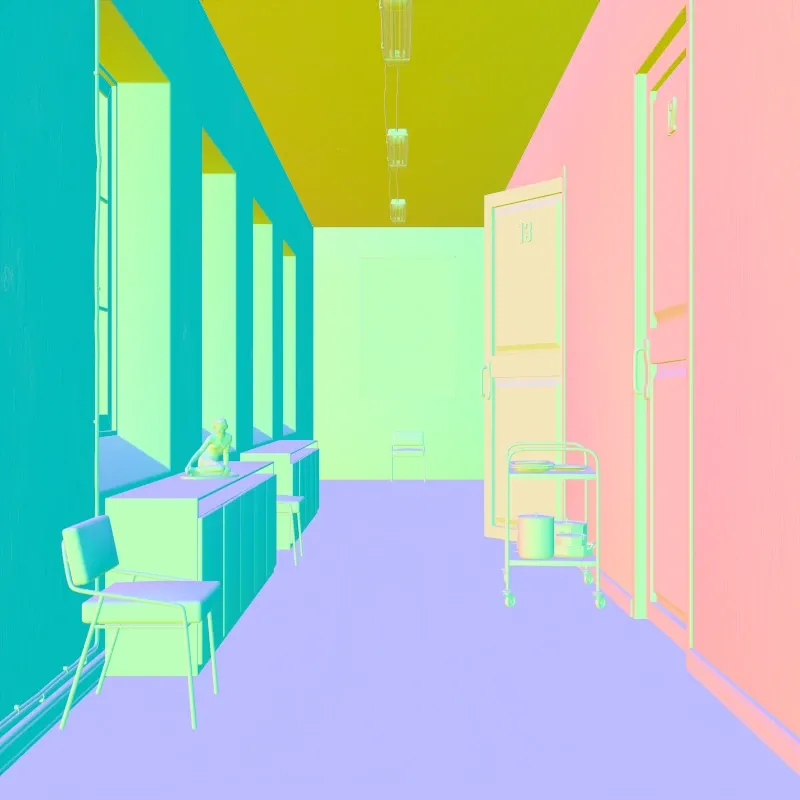
Section titled “Shading Normals”Shows surface orientation after smoothing and normal mapping. XYZ normal directions map to RGB colors.
Texture Coordinates
Section titled “Texture Coordinates”Visualizes UV texture coordinates. Red = U coordinate, Green = V coordinate. Useful for checking if objects are textured correctly.
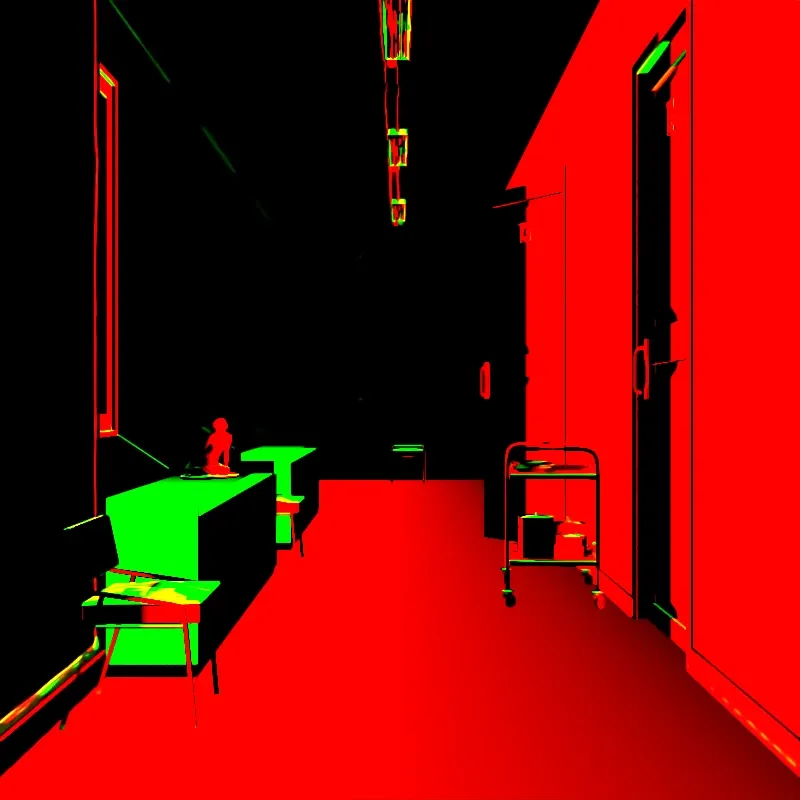
UV coordinates.
World Coordinates
Section titled “World Coordinates”Shows the world-space XYZ position of each surface as RGB values. Save as EXR to preserve negative values.
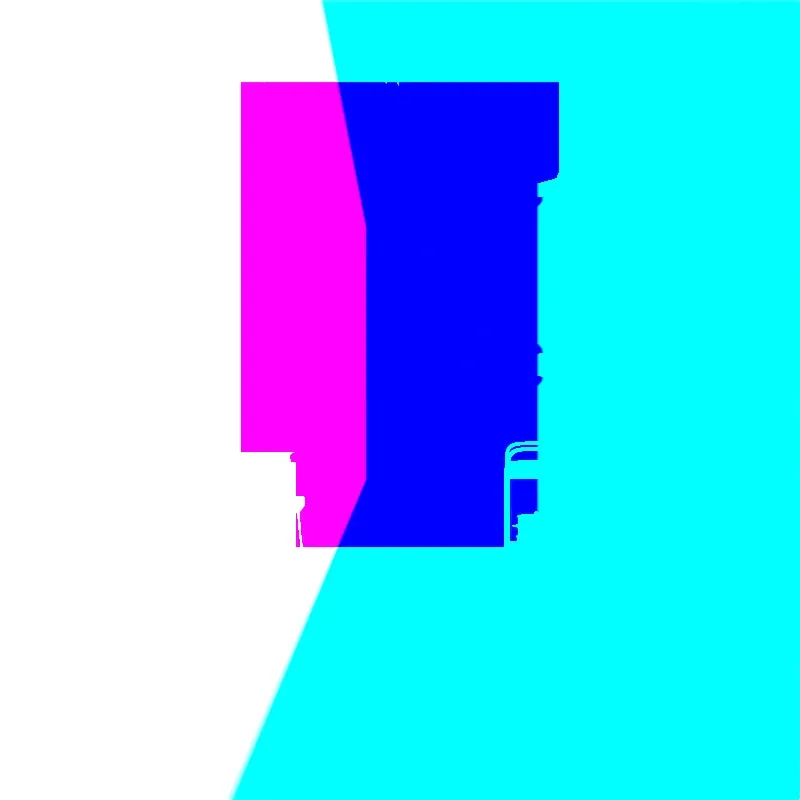
World position pass.