Cameras
Overview
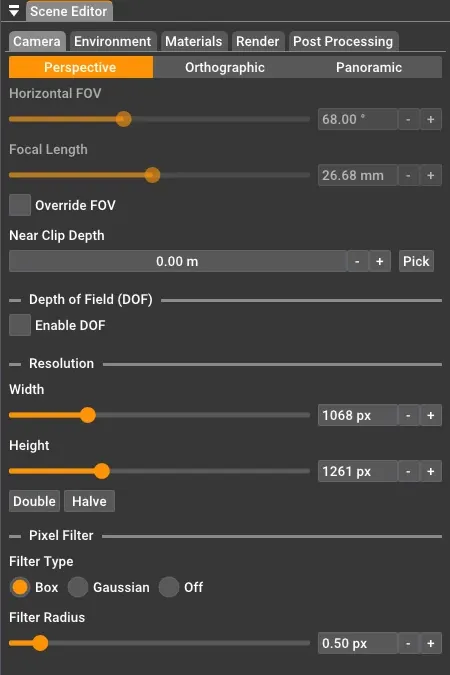
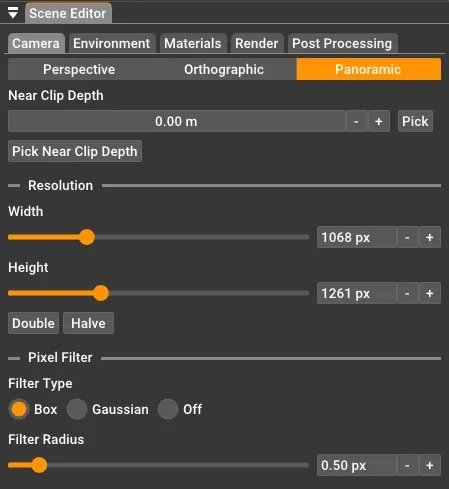
Section titled “Overview”The camera in Rayscaper controls how your scene is viewed and rendered. Camera settings are managed in the camera tab of the Rayscaper scene editor, where you can configure:
- Camera synchronization with SketchUp
- Projection types (Perspective, Orthographic, Panoramic)
- Resolution and output settings
- Advanced rendering options like depth of field and pixel filtering
Camera Synchronization
Section titled “Camera Synchronization”The Rayscaper camera determines the viewpoint of your scene and automatically syncs with the SketchUp camera. When you navigate your viewport in SketchUp, the camera updates in Rayscaper in real-time.
Locking the Camera
Section titled “Locking the Camera”If you don’t want the SketchUp camera to sync with the Rayscaper camera, you can lock the camera via the SketchUp toolbar (![]() ) or via the SketchUp menu
) or via the SketchUp menu Extensions > Rayscaper > Camera Lock.
Matching the Viewport
Section titled “Matching the Viewport”If you want to match the SketchUp viewport in camera setup and resolution exactly, you can use the match viewport option, either via the SketchUp toolbar (![]() ) or via the SketchUp menu
) or via the SketchUp menu Extensions > Rayscaper > Match SketchUp Viewport.
Projection Types
Section titled “Projection Types”Rayscaper supports three camera projection types: Perspective, Orthographic, and Panoramic. You can switch between them using the projection buttons at the top of the camera tab.
Perspective
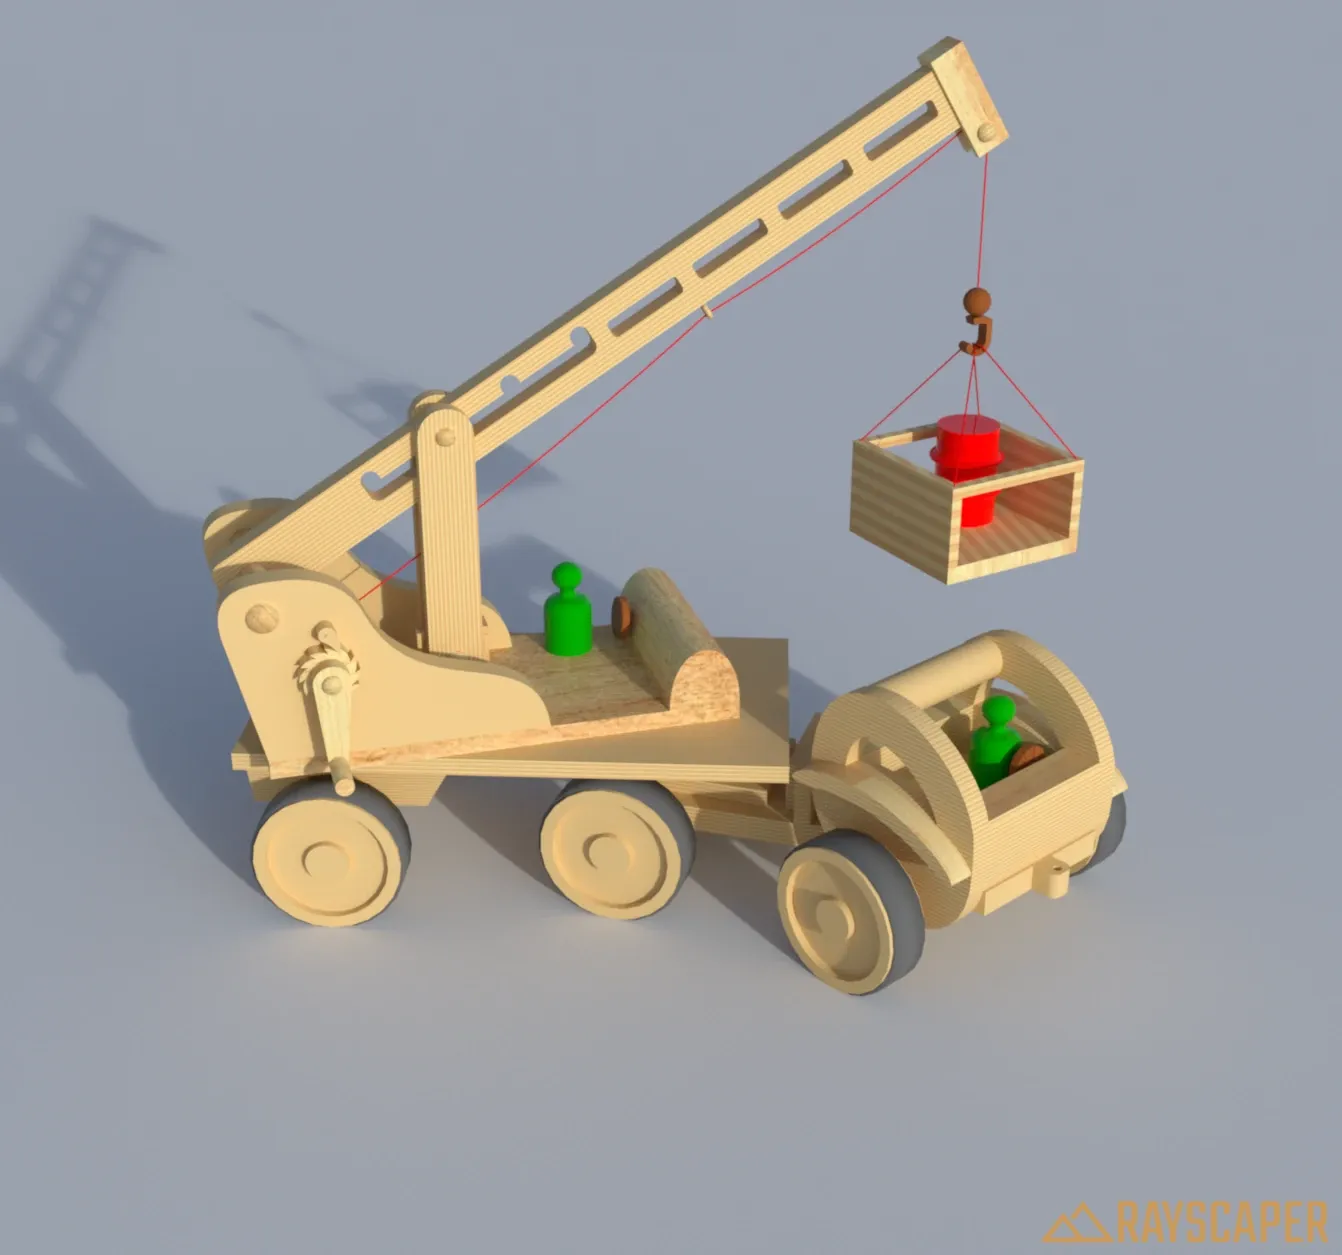
Section titled “Perspective”The perspective camera simulates a real-world camera where objects appear smaller as they get further away. This is the most common projection type for architectural visualization and product renders.
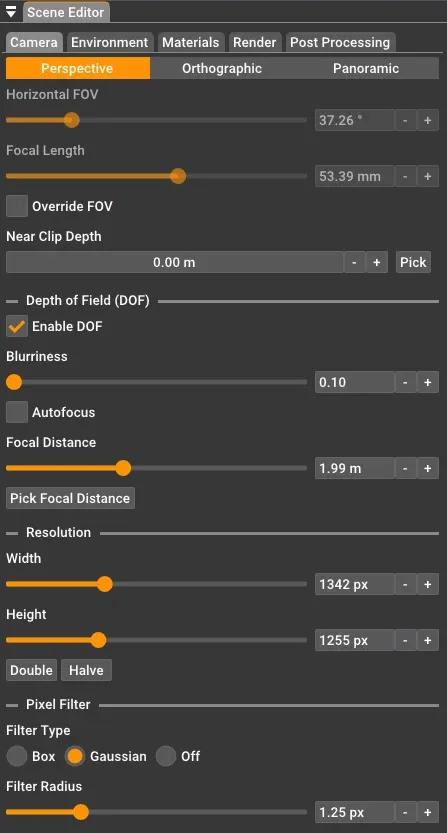
Horizontal Field of View: Controls the horizontal field of view (FOV) of the camera, specified in degrees. A small value results in a very narrow field of view, and a large value results in a very wide field of view.
Focal Length: Controls the focal length of the camera lens in millimeters. This is an alternative way to control the field of view - shorter focal lengths (e.g., 24mm) give a wider view, while longer focal lengths (e.g., 200mm) give a narrower, more zoomed-in view. The focal length and horizontal FOV are linked and adjusting one will automatically update the other.
Override FOV: When enabled, the field of view is controlled manually in Rayscaper instead of synchronizing from SketchUp’s viewport. This is useful when you want to set a specific FOV or focal length for your render that differs from the SketchUp view.
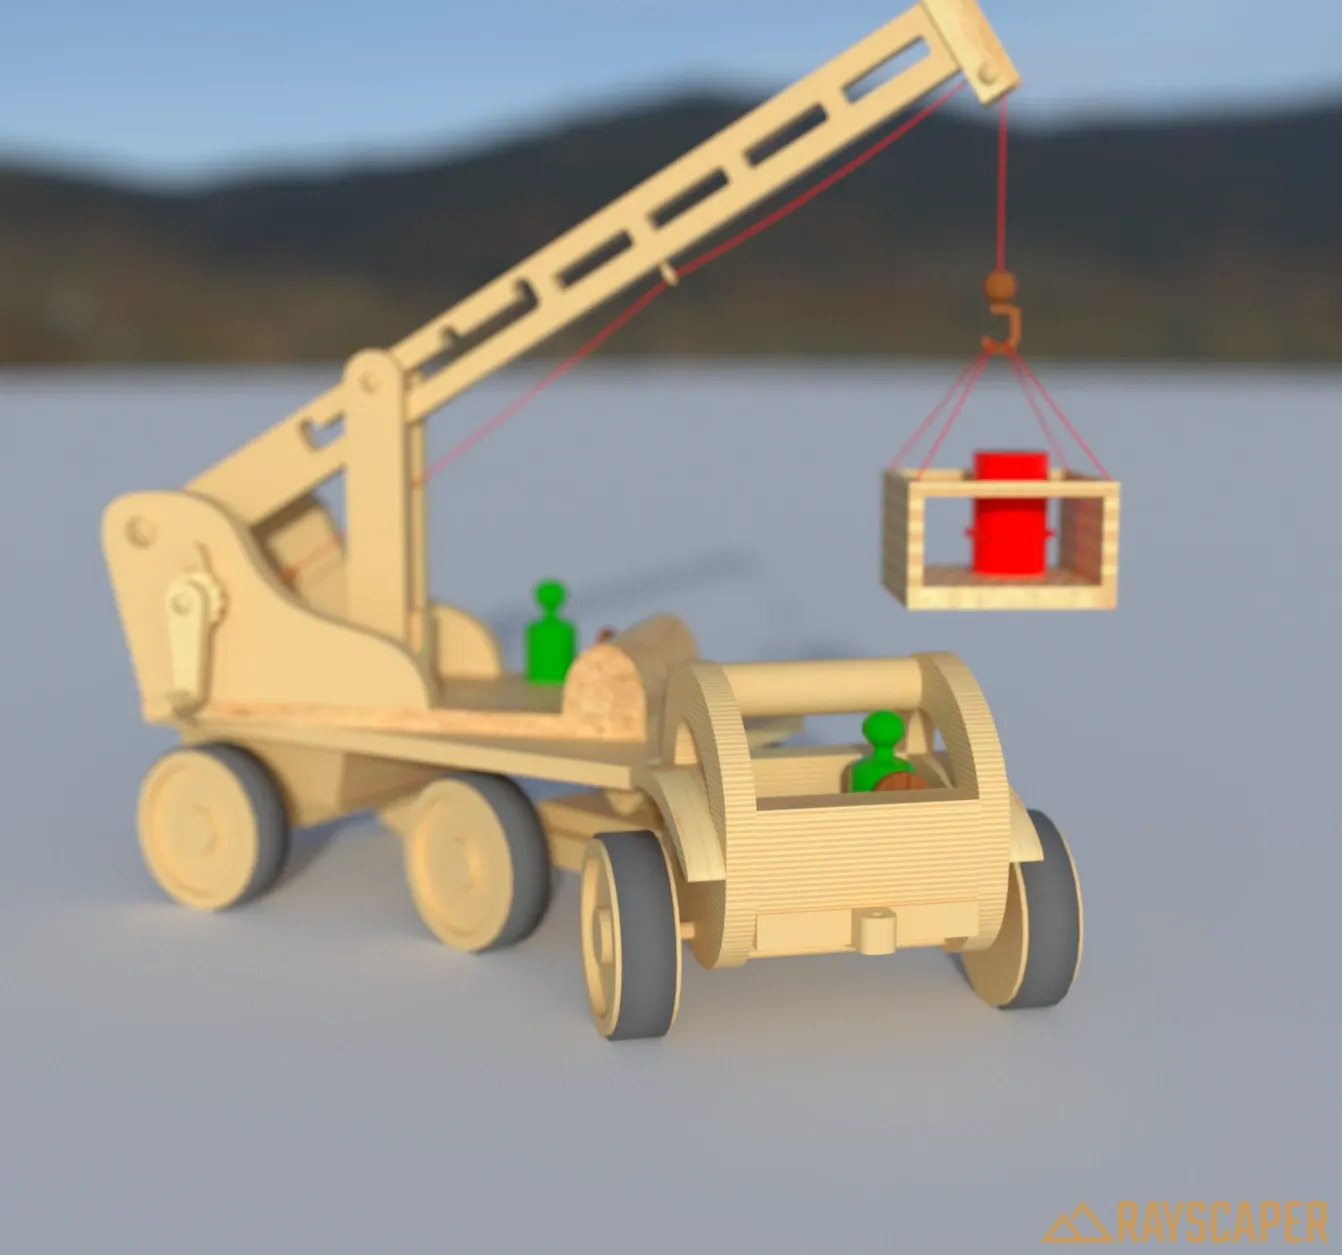
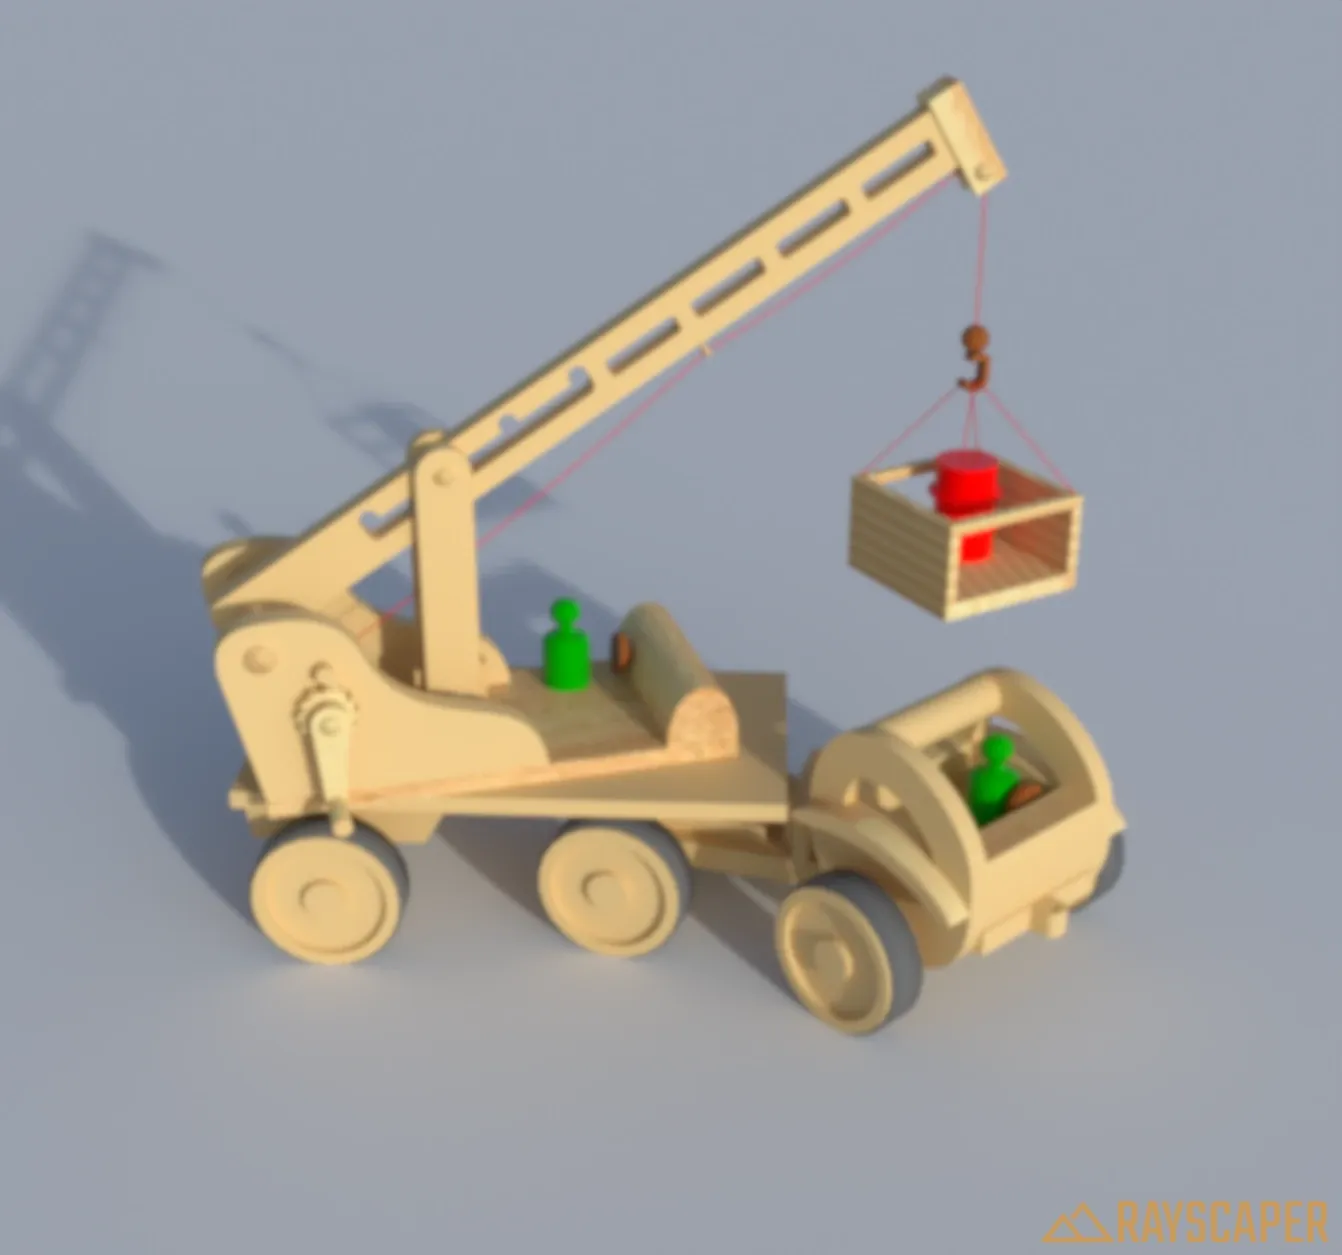
Depth of Field (DOF)
Section titled “Depth of Field (DOF)”Depth of field simulates how a real camera lens focuses on objects at a specific distance while blurring objects closer or further away. This effect is only available for perspective cameras.

Enable DOF: Turns the depth-of-field effect on or off. When disabled, everything in the scene is in sharp focus.
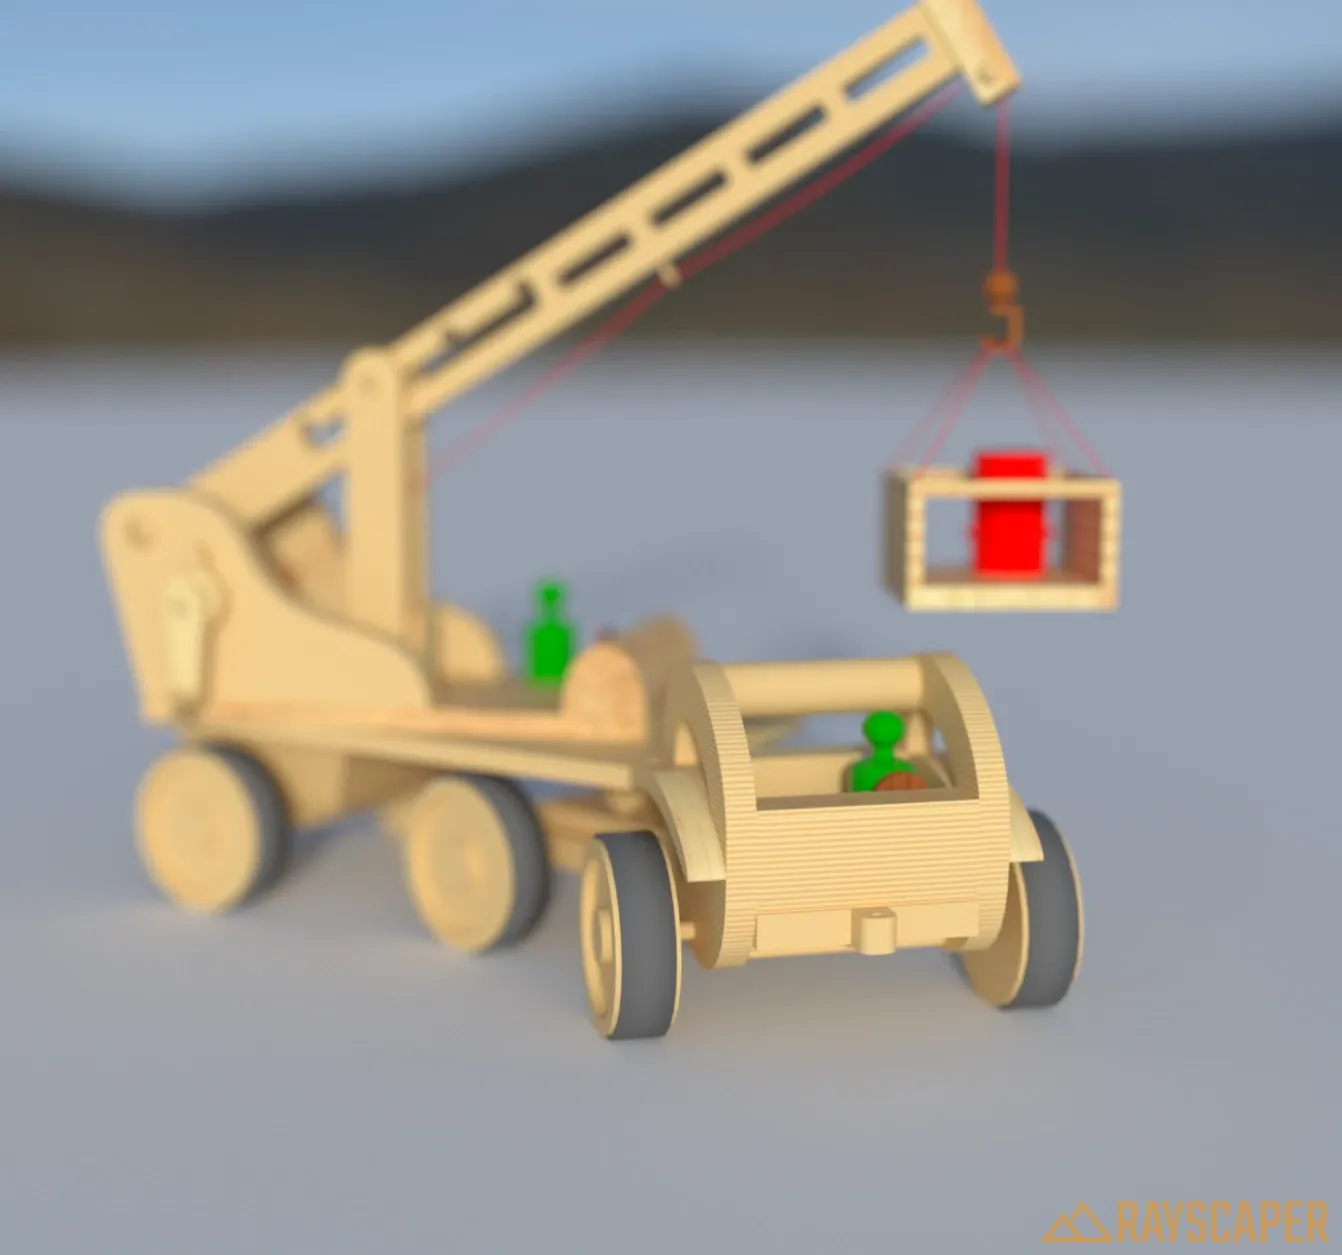
Blurriness: Controls the amount of blur applied to out-of-focus areas. Higher values create a more pronounced bokeh effect with stronger blur. The slider ranges from subtle (0.1) to very strong (100) blur.
Autofocus: When enabled, the camera automatically focuses on whatever is at the center of the image. This is convenient for most scenes where you want the main subject in focus.
Focal Distance: Only shown when Autofocus is disabled. Controls the distance from the camera to the focal plane in meters. Objects at this distance will be in sharp focus, while objects closer or further away will be progressively blurred.
When Autofocus is disabled, you can click the “Pick Focal Distance” button and then click on any surface in your scene to set that point as the focus distance. This is often easier than manually entering a distance value.
Orthographic
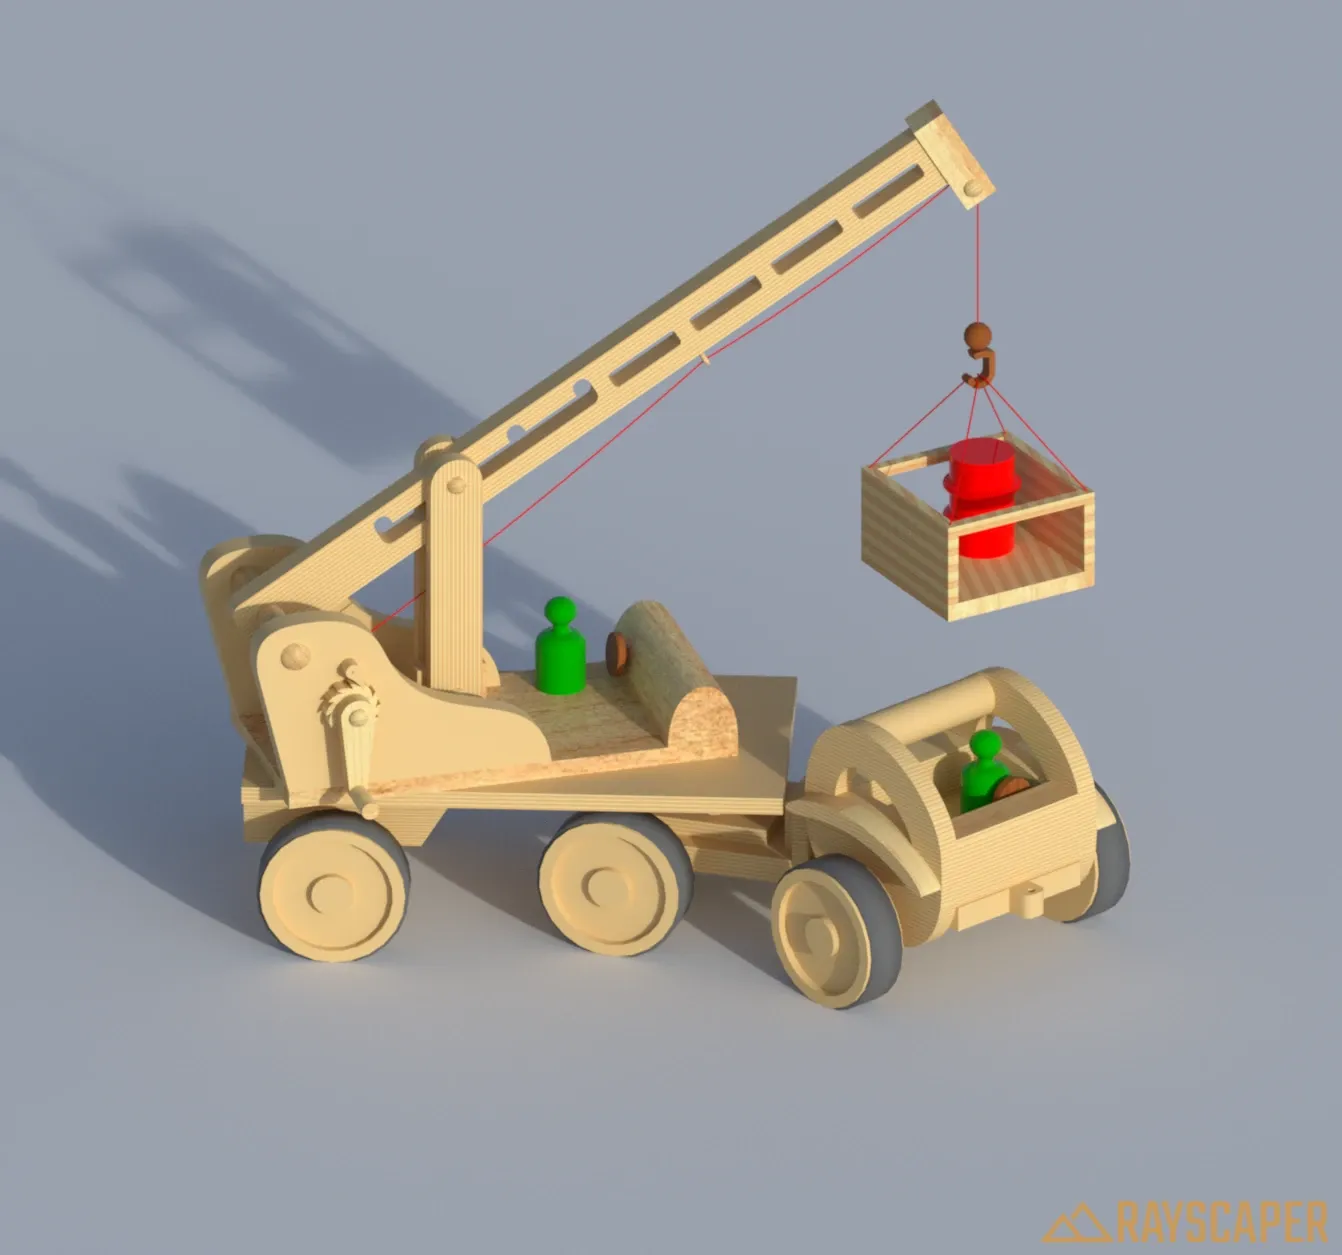
Section titled “Orthographic”The orthographic camera renders without perspective distortion - parallel lines remain parallel regardless of distance. This is useful for architectural elevations, technical drawings, or achieving a specific visual style.
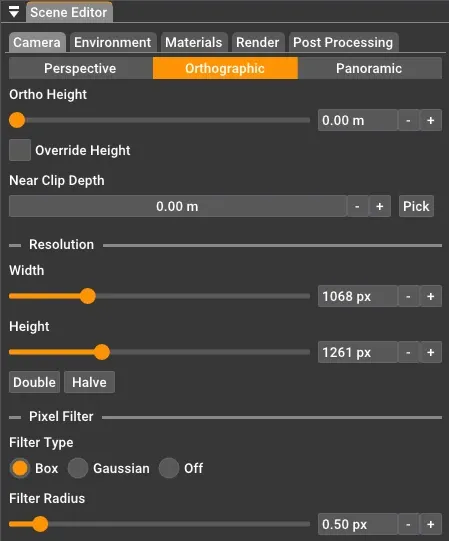
Ortho Height: Controls the vertical size of the view in meters. A smaller value zooms in, while a larger value shows more of the scene.
Override Height: When enabled, the orthographic height is controlled manually in Rayscaper instead of synchronizing from SketchUp’s viewport.
Panoramic
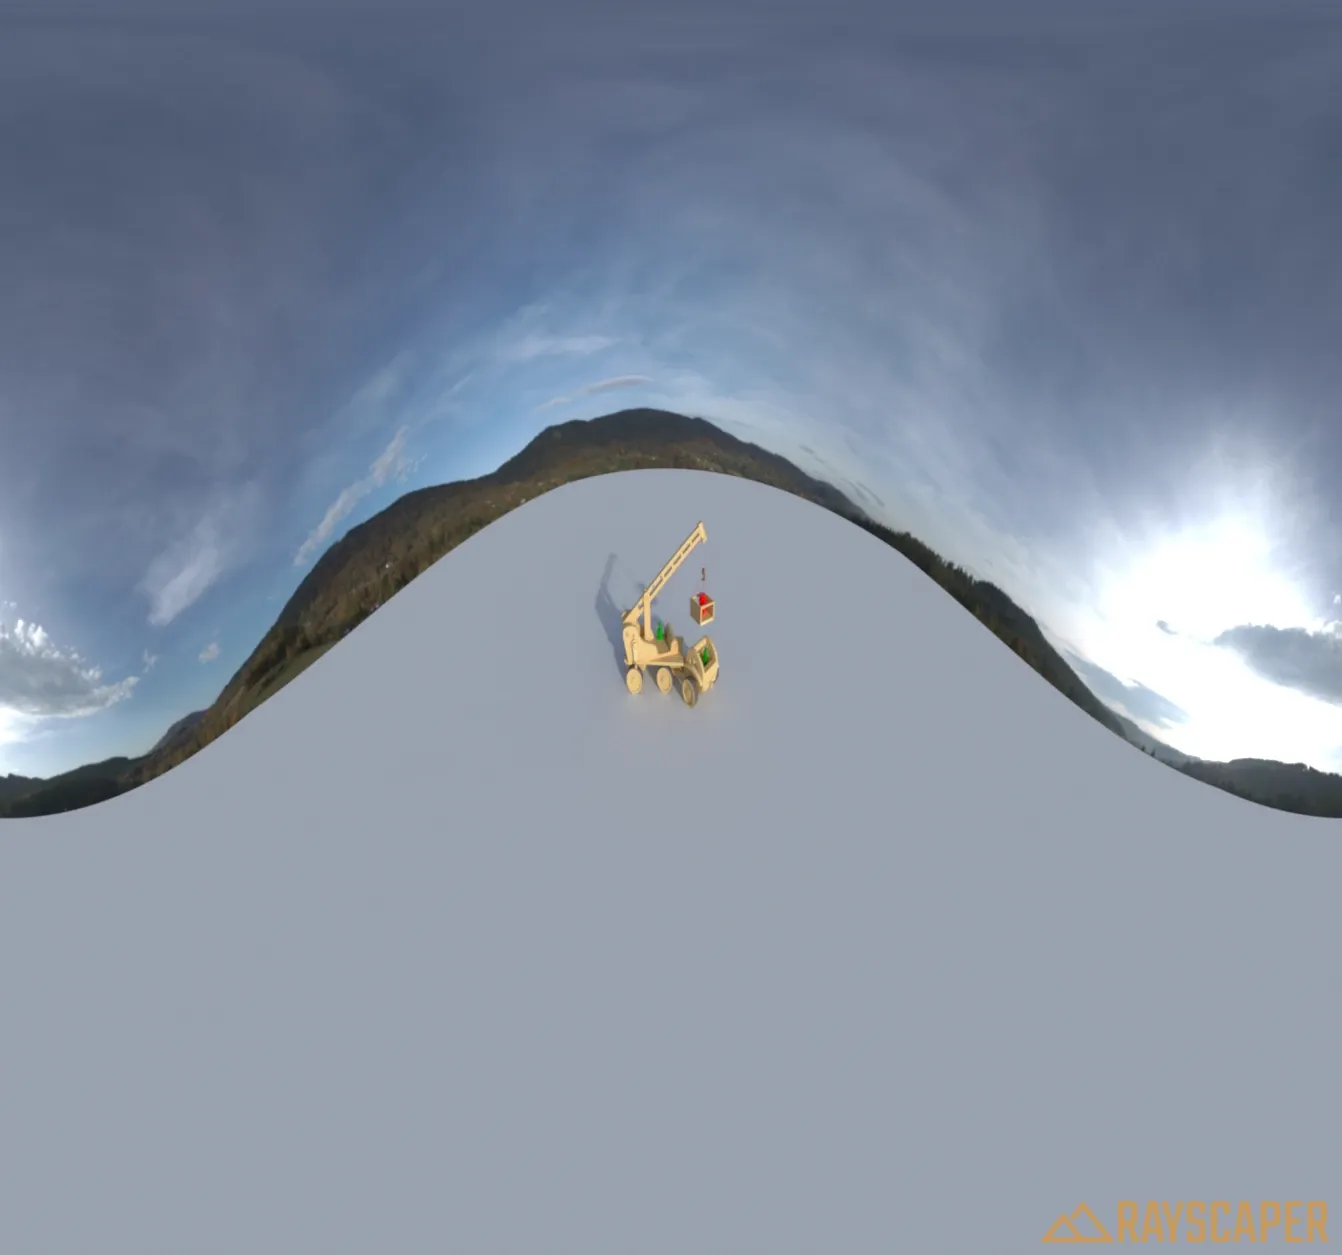
Section titled “Panoramic”The panoramic camera renders a full 360-degree spherical view of your scene. This is useful for creating VR content, environment maps, or interactive walkthroughs.
The panoramic projection type uses the common settings described below (resolution, near clip depth, and pixel filtering) but does not have projection-specific parameters like field of view or ortho height.
Resolution
Section titled “Resolution”The resolution settings control the output image size for your renders.
Width: The horizontal resolution in pixels (100 to 4000).
Height: The vertical resolution in pixels (100 to 4000).
Double: Doubles both the width and height of the current resolution. Useful for quickly scaling up for final renders.
Halve: Halves both the width and height of the current resolution. Useful for quick preview renders at lower resolution.
Advanced Settings
Section titled “Advanced Settings”Near Clip Depth
Section titled “Near Clip Depth”Controls the distance to the near clipping plane in meters. The clipping plane is perpendicular to the camera direction, and everything in front of it is not rendered. This is useful for cutting away foreground objects that might otherwise block your view, such as walls in interior scenes.
You can either enter a value manually or click the “Pick” button and then click on a surface in your scene to use that distance as the near clip depth.
Pixel Filter
Section titled “Pixel Filter”Pixel filtering controls the sharpness of your image and can be a handy tool to blur rendering noise or avoid hard, jagged edges. Rayscaper offers the following pixel filters:
- Off: Disables pixel filtering.
- Box: Averages all pixel samples within the filter bounds with equal weight. A higher filter radius will make the image more blurry.
- Gaussian: Averages all the pixels that fall within the filter radius with a weight proportional to the distance from the pixel center. This means pixel samples further away from the pixel center contribute less, resulting in a smoother blur.
Filter Radius: Controls the size of the pixel filter in pixels (0.1 to 5.0). Higher values result in more blurry renders. This setting is only available when a filter type (Box or Gaussian) is selected.

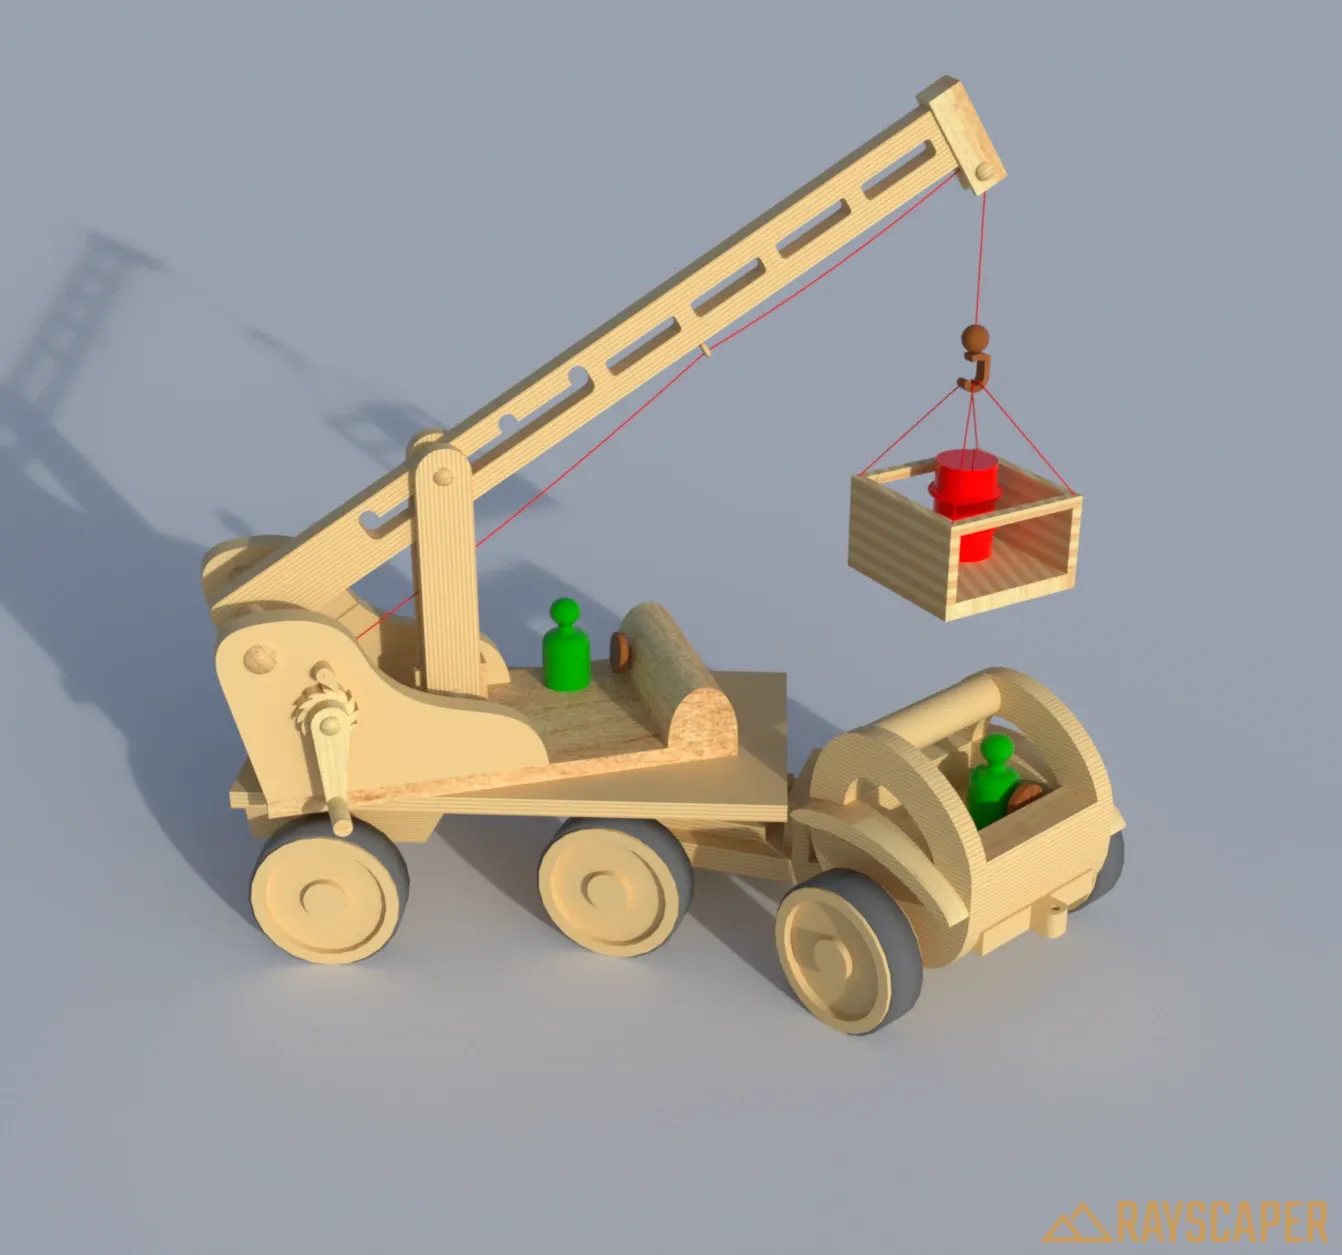

Credits
Section titled “Credits”Example renders on this page use the Wooden Toy Crane model from the SketchUp 3D Warehouse.