Installation Guide
Installing Rayscaper for the first time
Section titled “Installing Rayscaper for the first time”Installing via the SketchUcation Tools Extension
Section titled “Installing via the SketchUcation Tools Extension”Here are the written instructions for those who prefer to read:
Step 1: Download and install the SketchUcation tools extension. If you are unsure of how to install it, we have detailed instructions here.
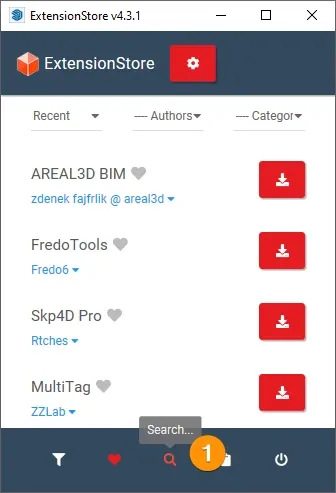
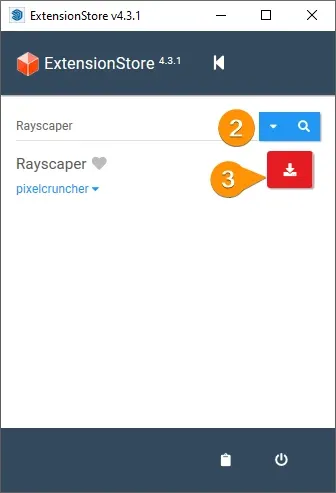
Step 2: Open the SketchUcation tools extension via the menu Extensions > SketchUcation > ExtensionStore. You
should see a window like the one below. You can use the search functionality to find the Rayscaper extension and click
the button to install it.
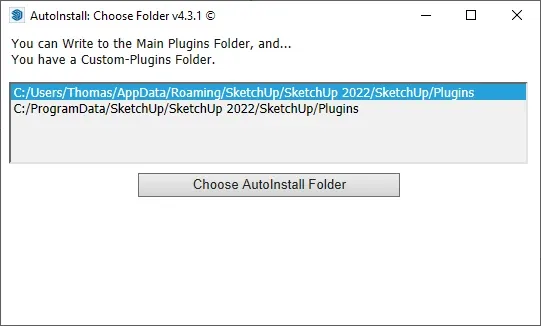
Step 3: Next, you need to select the preferred installation location of the extension. After confirming the installation location, the download of Rayscaper starts. The download can take a few seconds, depending on your connection speed.
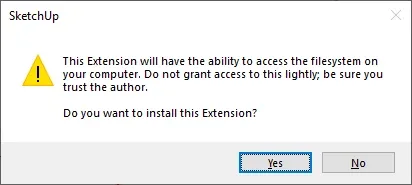
Step 4: Once the download is finished, you need to confirm its permissions:
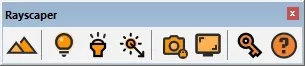
After these steps, you have correctly installed Rayscaper. You should see the Rayscaper toolbar:
Download and install via the SketchUp Extension Manager
Section titled “Download and install via the SketchUp Extension Manager”You can download the Rayscaper rbz file from the SketchUcation plugin store.
Upgrading to a newer version
Section titled “Upgrading to a newer version”Manual Upgrade
Section titled “Manual Upgrade”If you have successfully installed Rayscaper, you can follow these steps to upgrade to a newer version.